我使用的版本为
"@tinymce/tinymce-vue": "^2.1.0",
"tinymce":"^5.0.12"
安装npm包
npm install tinymce -S
npm install @tinymce/tinymce-vue -S
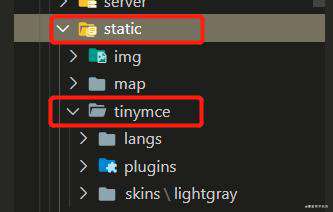
下载的时候可以先在 static 下面建个目录 tinymce,下载 tinymce 完成后在 node_modules 中找到 tinymce目录,将skins和plugins复制到 static\tinymce 目录下面

下载中文语言包
下载地址
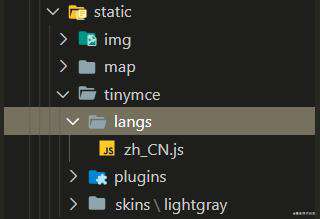
下载完成后将其解压到 static\tinymce 目录下面

组件内引入
import tinymce from 'tinymce/tinymce'
import Editor from '@tinymce/tinymce-vue'
//此时的 tinymce 包含了一些基本功能插件,如果需要其他功能,需要引入对应的功能插件,并在 plugins 和 toolbar 中使用插件
import 'tinymce/themes/modern/theme'
import 'tinymce/plugins/image'
import 'tinymce/plugins/media'
import 'tinymce/plugins/table'
import 'tinymce/plugins/lists'
import 'tinymce/plugins/contextmenu'
import 'tinymce/plugins/wordcount'
import 'tinymce/plugins/colorpicker'
import 'tinymce/plugins/textcolor'
组件内使用
<template>
  <div class="tinymce-editor">
    <editor
      v-model="myValue"
      :init="init"
    ></editor>
  </div>
</template>
<script>
  export default {
      components: {
          Editor
      },
  }
</script>
在 data 中进行编辑器相关的配置
  data() {
        return {
            init: {
                language_url: '/tinymce/langs/zh_CN.js', //语言包的路径
                language: 'zh_CN',
                skin_url: '/tinymce/skins/lightgray',
                height: 350,
                width: 1100,
                plugins: "lists image table colorpicker textcolor wordcount contextmenu",
                toolbar: 'code undo redo restoredraft | cut copy paste pastetext | forecolor backcolor bold italic underline strikethrough link anchor | alignleft aligncenter alignright alignjustify outdent indent | \
    styleselect formatselect fontselect fontsizeselect | bullist numlist | blockquote subscript superscript removeformat | \
    table image media charmap emoticons hr pagebreak insertdatetime print preview | fullscreen | bdmap indent2em lineheight formatpainter axupimgs',
                fontsize_formats: '12px 14px 16px 18px 24px 36px 48px 56px 72px',
                font_formats: '微软雅黑=Microsoft YaHei,Helvetica Neue,PingFang SC,sans-serif;苹果苹方=PingFang SC,Microsoft YaHei,sans-serif;宋体=simsun,serif;仿宋体=FangSong,serif;黑体=SimHei,sans-serif;Arial=arial,helvetica,sans-serif;Arial Black=arial black,avant garde;Book Antiqua=book antiqua,palatino;',
                branding: false,
                menubar: false, //顶部菜单栏显示
                //此处为图片上传处理函数,这个直接用了base64的图片形式上传图片,
                //如需ajax上传可参考https://www.tiny.cloud/docs/configure/file-image-upload/#images_upload_handler
                images_upload_handler: (blobInfo, success, failure) => {
                    this.imgUpload(blobInfo, success, failure); //下文的自定义函数
                }
            },
        }
    }
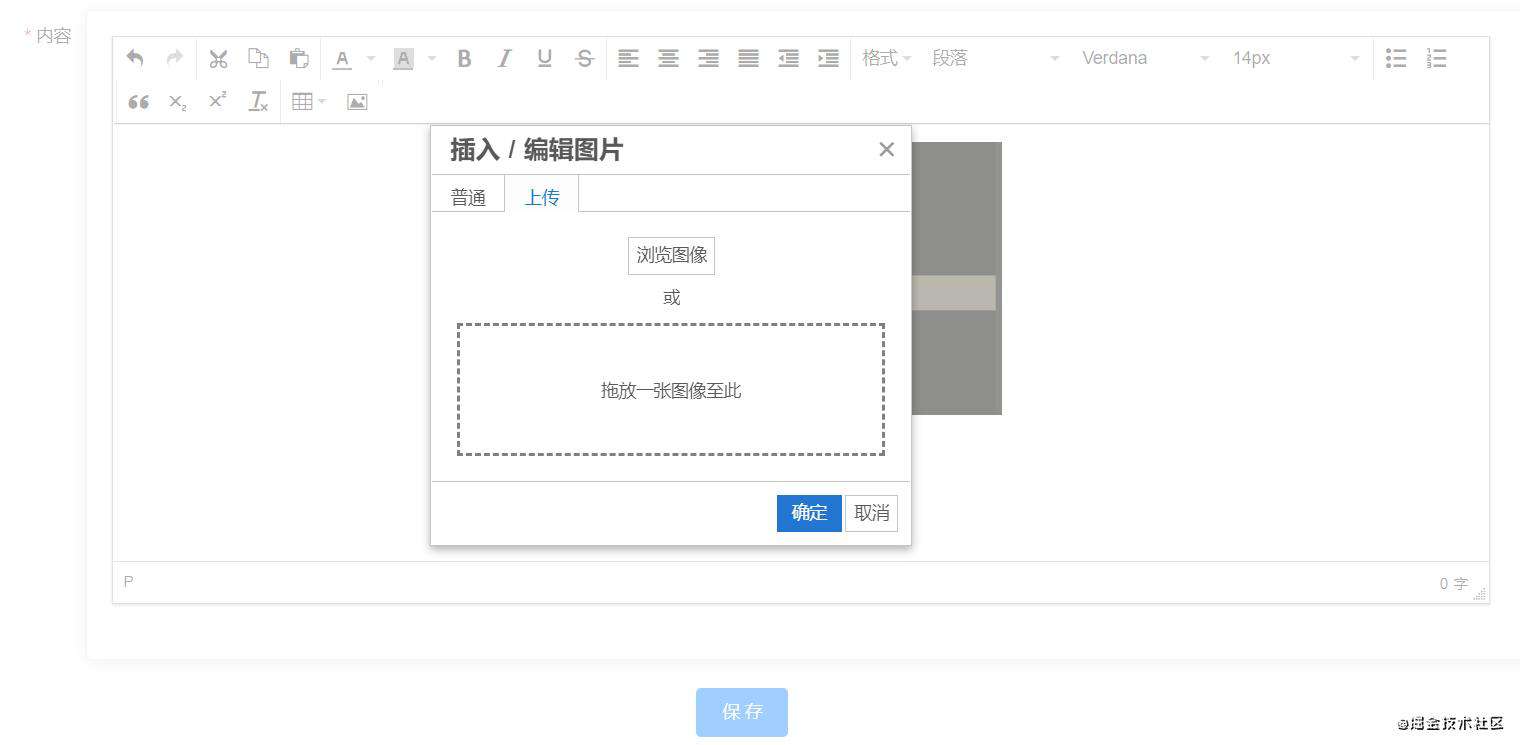
此时不出意外编辑器界面应该出来了,接下来是上传图片到七牛服务器
获取token,自定义上传方法
废话不多说,直接上代码
mounted() {
    this.getUploadToken()
},
methods: {
    async getUploadToken() {
        let res = await this.$axios.$post('/common/getUploadToken') //更换自己的请求方法和路径
        this.qnToken = res.data
    },
   imgUpload(blobInfo, success, failure) {
        const axiosInstance = axios.create({ withCredentials: false }); //withCredentials 禁止携带cookie,带cookie在七牛上有可能出现跨域问题
        let data = new FormData();
        data.append("token", this.qnToken); //七牛需要的token,后台获取
        data.append("file", blobInfo.blob());
        axiosInstance({
            method: "POST",
            url: 'https://up-z1.qiniup.com', //上传地址,视情况更换
            data: data,
            timeout: 30000, //超时时间,因为图片上传有可能需要很久
            onUploadProgress: progressEvent => {
              //imgLoadPercent 是上传进度,可以用来添加进度条
              let imgLoadPercent = Math.round(
                        (progressEvent.loaded * 100) / progressEvent.total
                    );
                }
            })
            .then(res => {
                // 调用成功回调,返回用七牛外链地址和返回的key拼接的图片路径
                success(`你的CDN地址${res.data.key}`);
            })
            .catch(function (err) {
                console.log(err);
                //上传失败
            });
      },
}
不出意外就大功告成了。。。

常见问题FAQ
- 免费下载或者VIP会员专享资源能否直接商用?
- 本站所有资源版权均属于原作者所有,这里所提供资源均只能用于参考学习用,请勿直接商用。若由于商用引起版权纠纷,一切责任均由使用者承担。更多说明请参考 VIP介绍。
- 提示下载完但解压或打开不了?
- 找不到素材资源介绍文章里的示例图片?
- 模板不会安装或需要功能定制以及二次开发?


发表评论
还没有评论,快来抢沙发吧!