这是我参与更文挑战的第14天,活动详情查看: 更文挑战

半个月的努力,终于到了发布一版本的时候了,基于功能逻辑虽然有待不断完善,但根据 MVP 最小量化开发逻辑,给自己定了每两周发一版本的要求。
所以今天的目标就是学习如何打包 Mac 版本。
学习如何在 Github Action 上如何自动化打包 Mac 版本之前,我们需要学习下有关 Github Action 知识。
Github Actiion
在使用这个框架模板的前几天,我一直发现,只要我提交代码到 Gtihub 上,总会看到一个红色(❎️)的提示 (当然现在基本都是✅️的提示了):
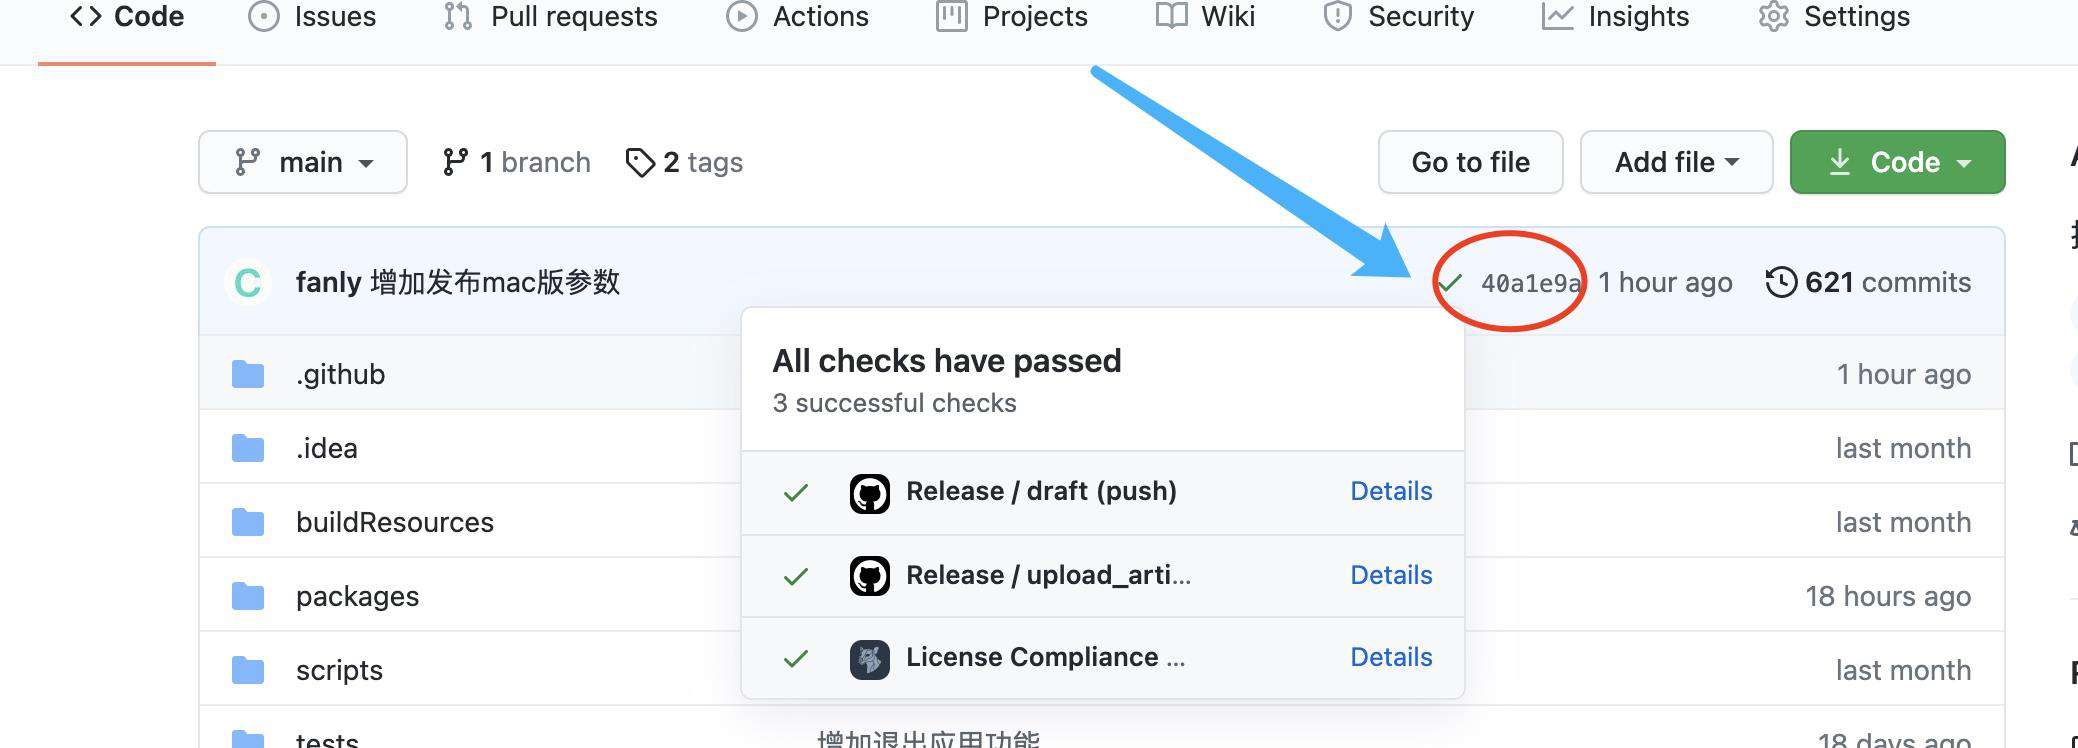
点击这个提示,发现是跳转到「Actions」界面,如下面报错的截图:
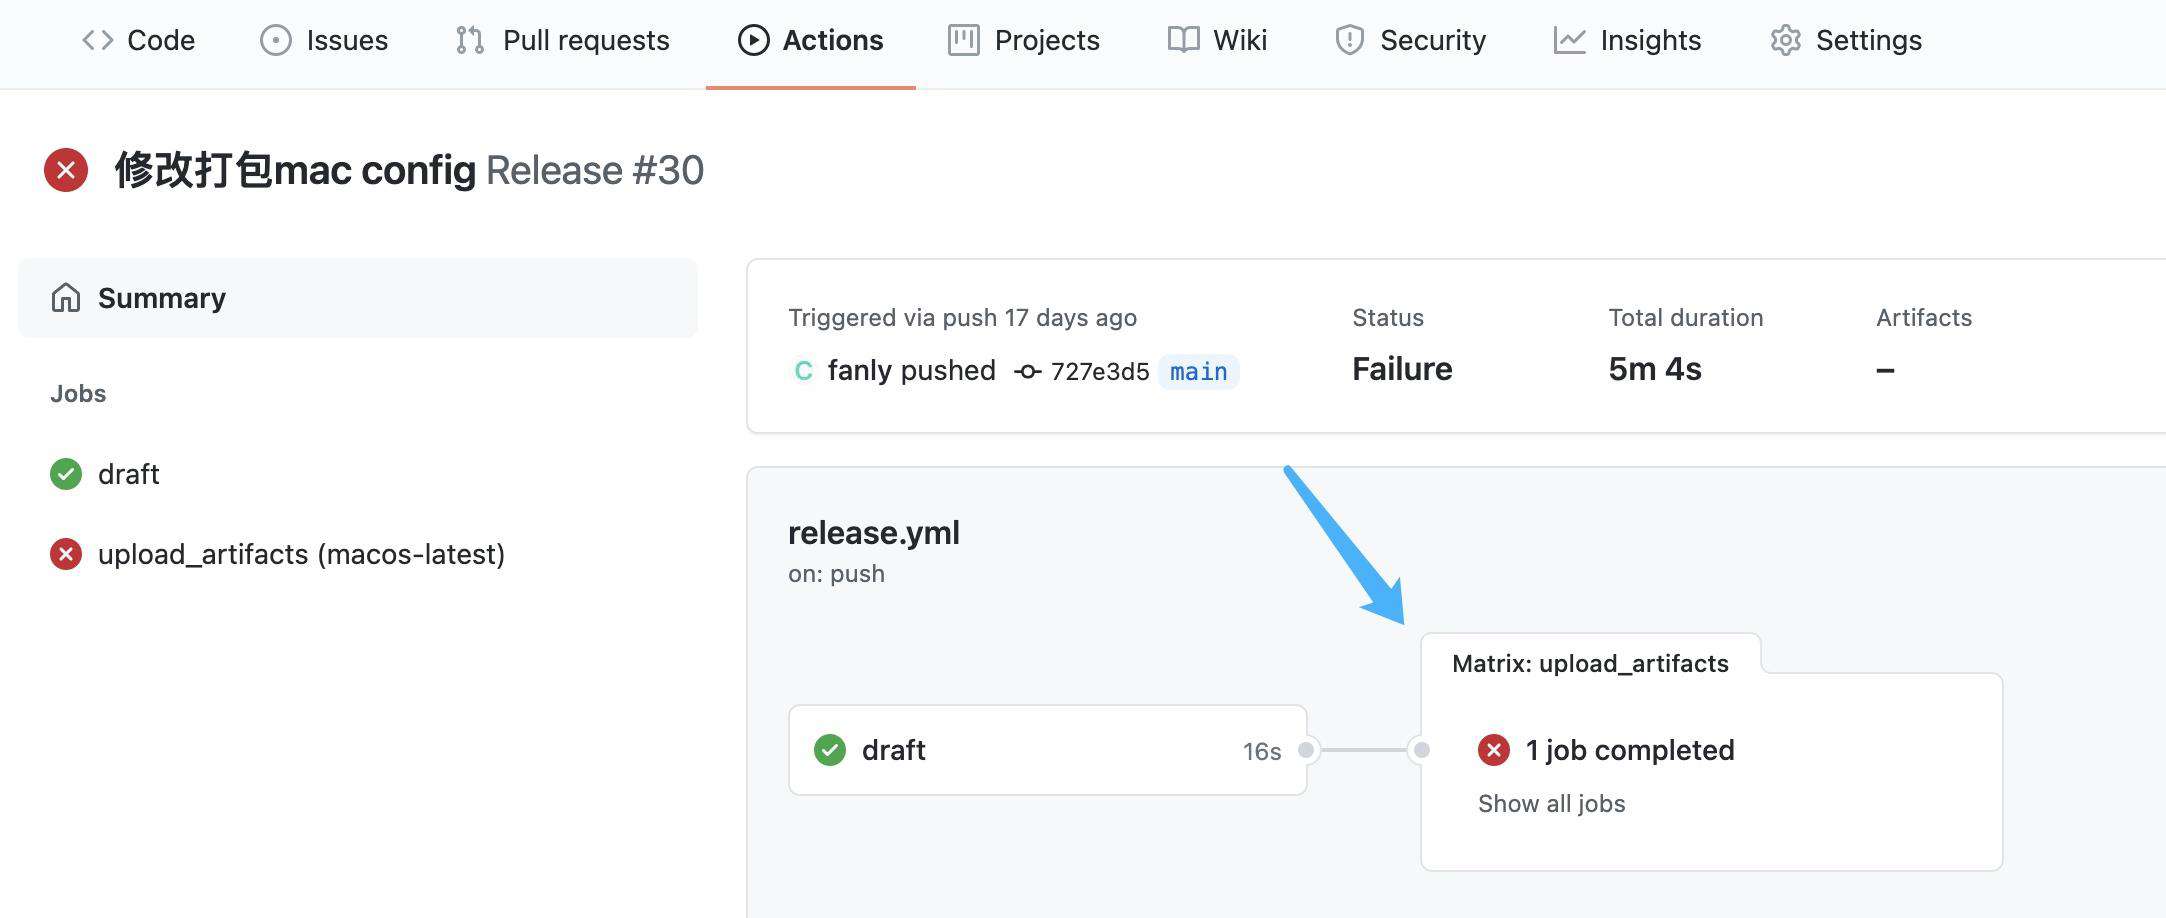
后来通过了解,原来所有的 Actions 对应的 workflows 是写在了 .github 目录下,具体可看 Github 官网介绍:

下面拿 lint.yml 做简单介绍。
lint.yml
顾名思义,这个主要是配合代码格式化检测的,其实在代码 commit 到缓存时,也会执行 yarn lint 操作。
// package.json
"simple-git-hooks": {
  "pre-commit": "npx lint-staged",
  "pre-push": "npm run typecheck"
},
"lint-staged": {
  "*.{js,ts,vue}": "eslint --cache --fix"
},
即这个等效于:
// package.json
"scripts": {
  ...

  "lint": "eslint . --ext js,ts,vue",

  ...
}
所以在 commit 代码之前,我都会自己执行 yarn lint 让代码没报错。

回过头来,我们看看这个 workflow 代码:
name: Linters
on:
  push:
    branches:
      - main
    paths:
      - '**.js'
      - '**.ts'
      - '**.vue'
      - 'yarn.lock'
      - '.github/workflows/lint.yml'
  pull_request:
    paths:
      - '**.js'
      - '**.ts'
      - '**.vue'
      - 'yarn.lock'
      - '.github/workflows/lint.yml'


defaults:
  run:
    shell: 'bash'

jobs:
  eslint:
    runs-on: ubuntu-latest

    steps:
      - uses: actions/checkout@v2
      - uses: actions/setup-node@v2
        with:
          node-version: 15 # Need for npm >=7.7

      - uses: actions/cache@v2
        with:
          path: ~/.npm
          key: ${{ runner.os }}-node-${{ hashFiles('**/yarn.lock') }}
          restore-keys: |
            ${{ runner.os }}-node-

      # TODO: Install not all dependencies, but only those required for this workflow
      - name: Install dependencies
        run: npm install -g yarn && yarn install --immutable

      - run: yarn lint
只看最后几行代码基本就知道了,使用了 yarn.lock快速安装所有依赖,然后在全局中安装好 yarn,之后执行 yarn lint,效果一样。
打包
看了 lint.yml 的原理,基本也就明白了打包的 release.yml 原理了。
直接看代码:
// release.yml
// 其他的舍弃
# Compile app and upload artifacts
  - name: Compile & release Electron app
    uses: samuelmeuli/action-electron-builder@v1
    with:
      build_script_name: build
      args: --config electron-builder.config.js

      # GitHub token, automatically provided to the action
      # (No need to define this secret in the repo settings)
      github_token: ${{ secrets.github_token }}
      mac_certs: ${{ secrets.mac_certs }}
      mac_certs_password: ${{ secrets.mac_certs_password }}

      # If the commit is tagged with a version (e.g. "v1.0.0"),
      # release the app after building
      release: true

      # Sometimes the build may fail due to a connection problem with Apple, GitHub, etc. servers.
      # This option will restart the build as many attempts as possible
      max_attempts: 3
这里需要说明的一个就是怎么获取 Mac Code Signing。
In your project's GitHub repository, go to Settings → Secrets and add the following
- name: Build/release Electron app
  uses: samuelmeuli/action-electron-builder@v1
  with:
    # ...
    mac_certs: ${{ secrets.mac_certs }}
    mac_certs_password: ${{ secrets.mac_certs_password }}
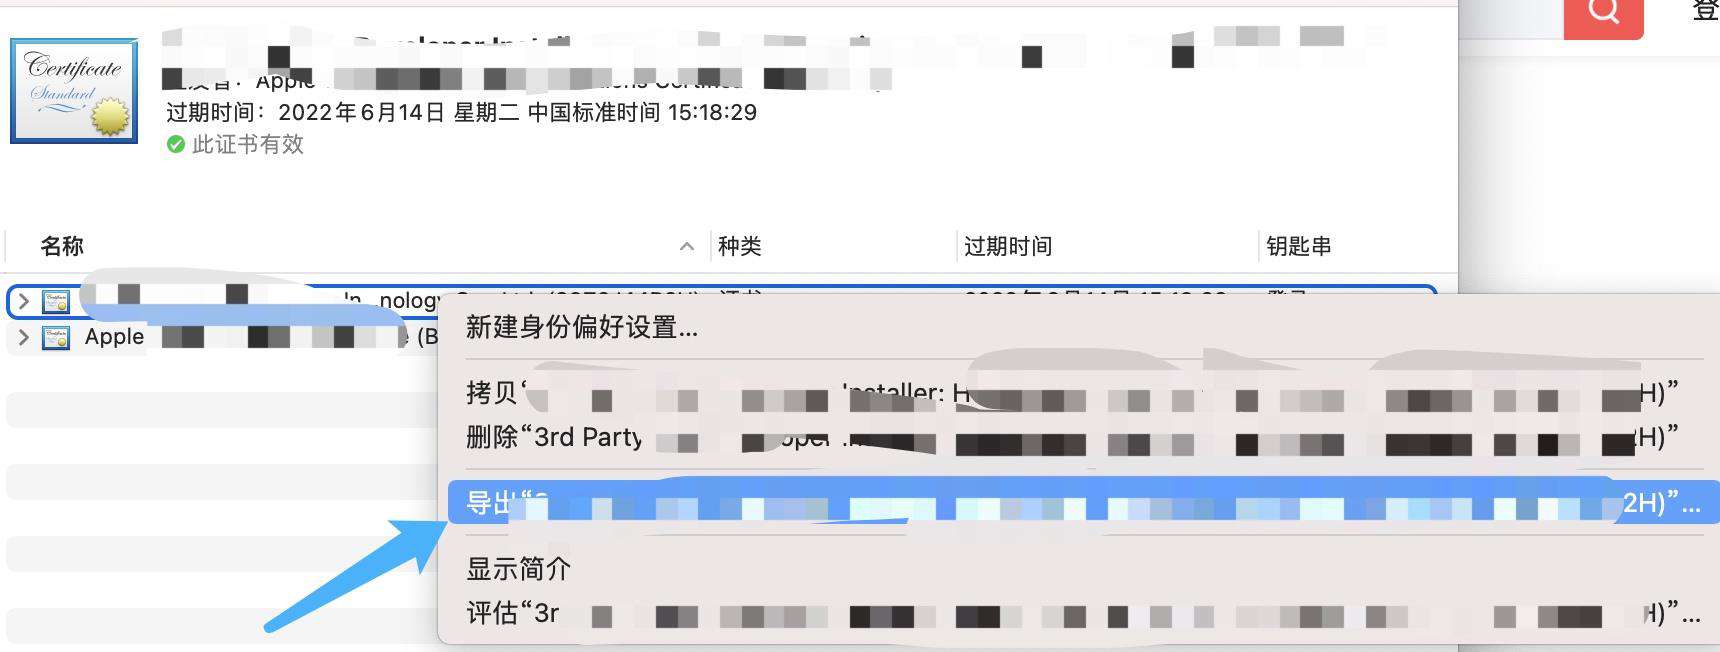
具体在 Mac developer 中心怎么创建一个开发者证书这里就不说了,之后在我们 Mac 本机器上导师证书 p12 格式文件,然后加密输出为字符串:

最后,再将内容填入 Settings/Secrets 中,以供 release action 使用:

好了,我们提交代码,看 workflow 运行起来:
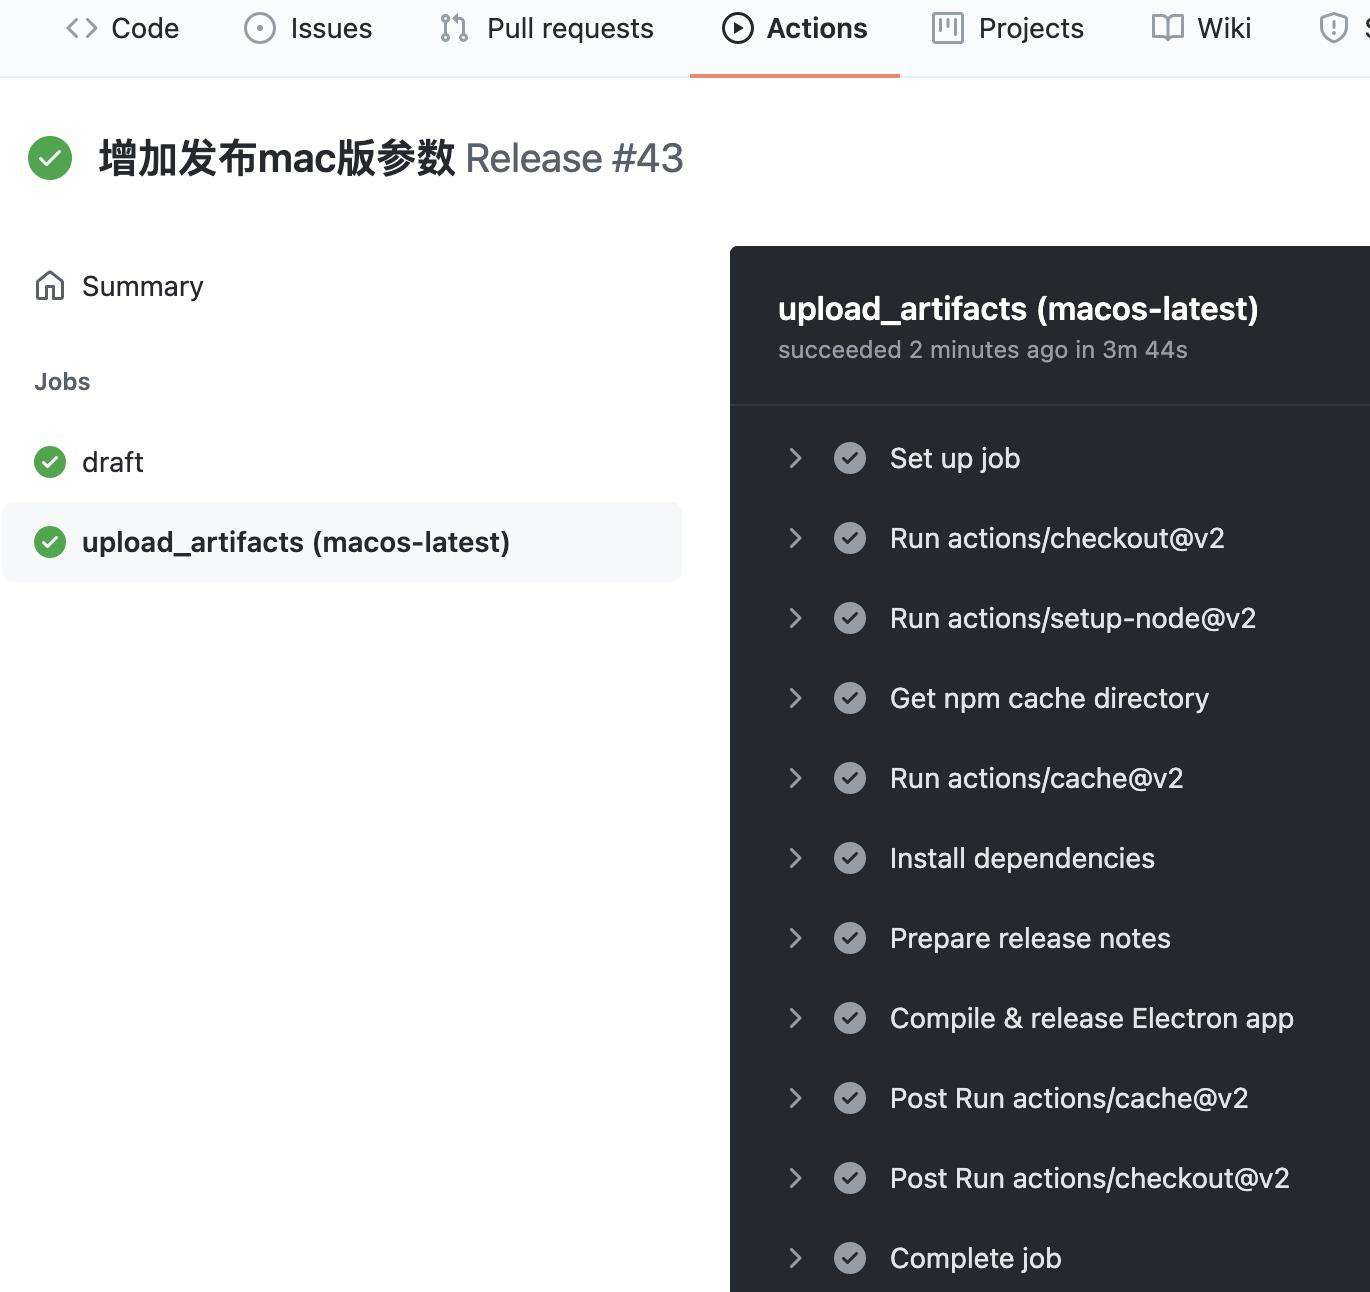
至此,在 Draft 里可以看到打包的执行包:
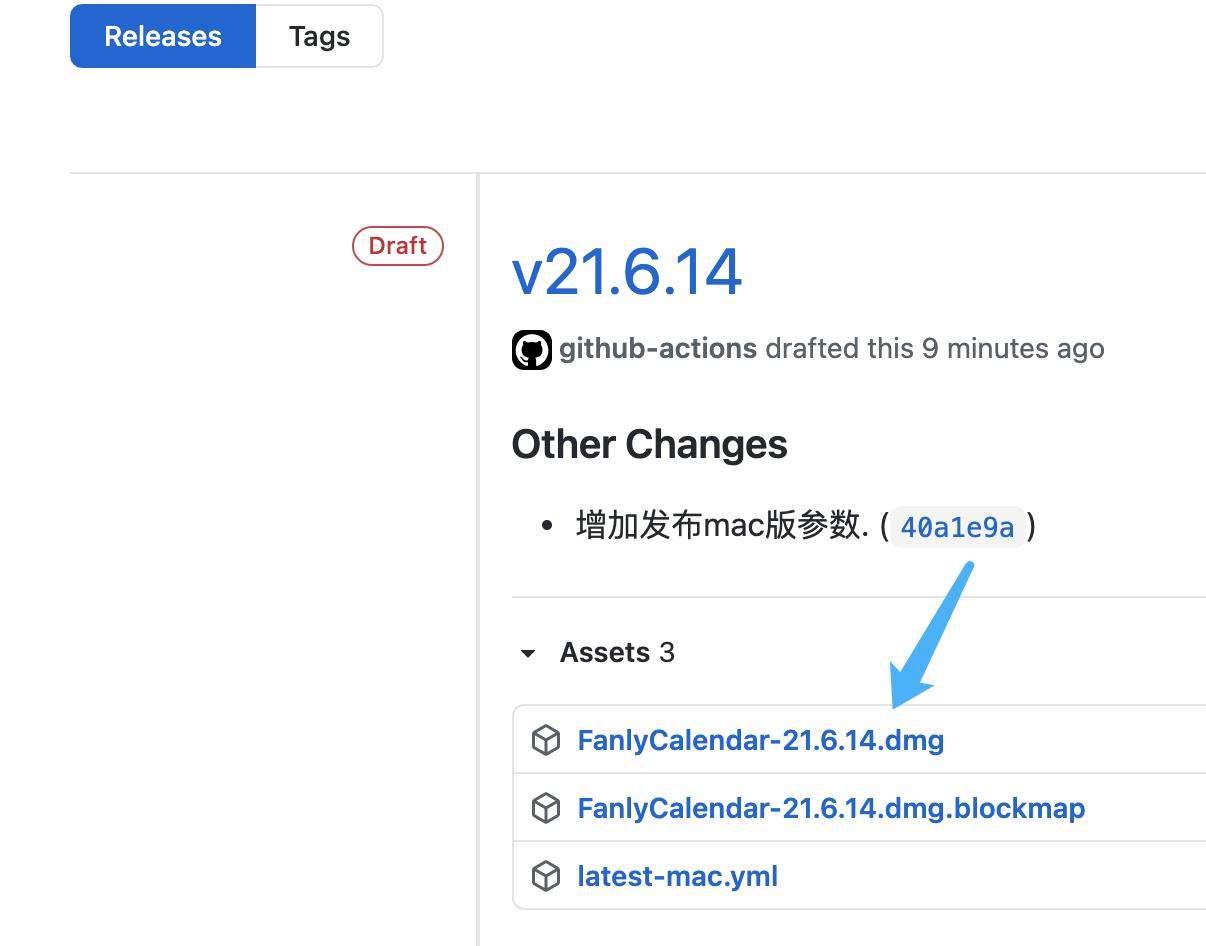
下载并按照看看能不能跑起来。
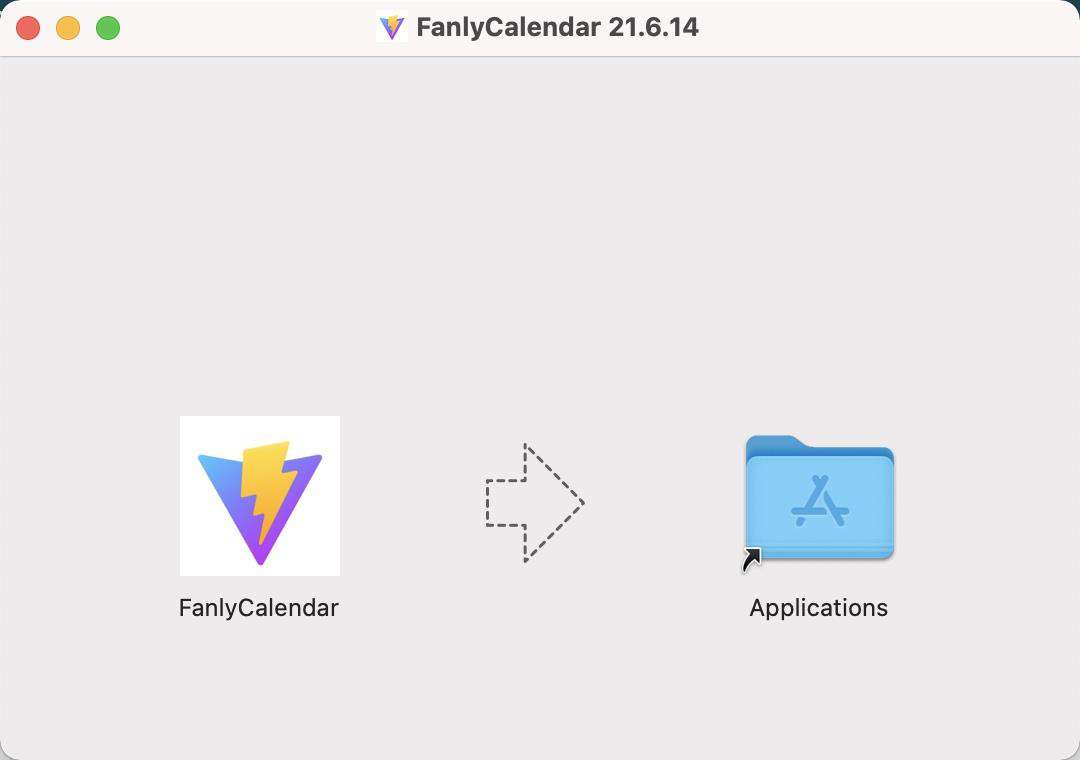
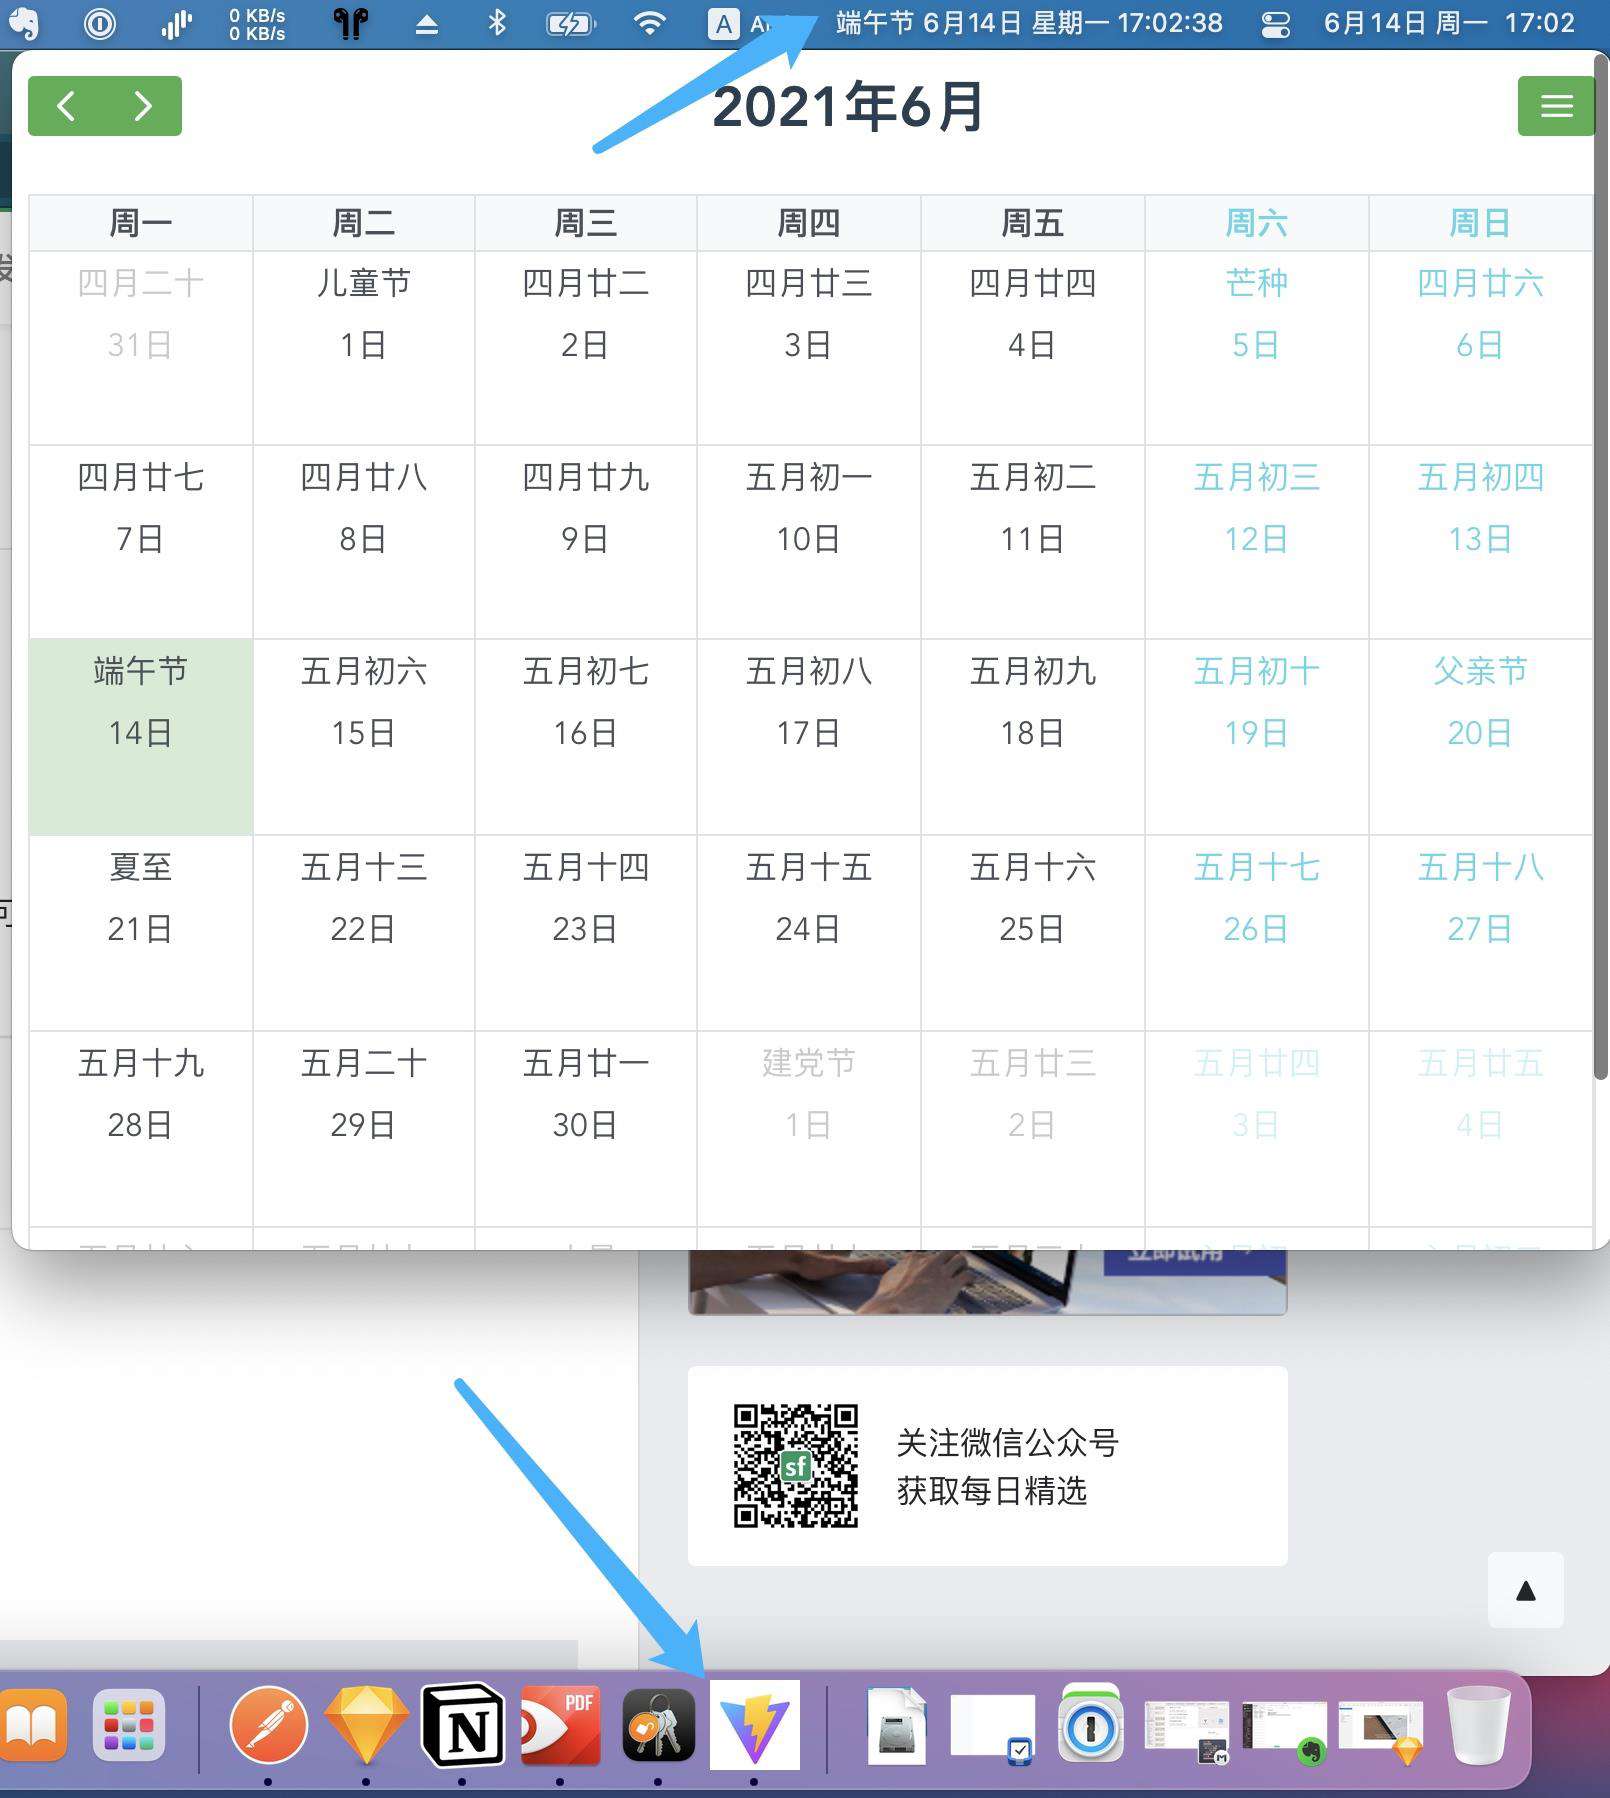
小结
今天我们粗略了解下如何执行 Github Actions,如何编写 Workflows 和 Mac 证书生成并最后打包成 dmg 格式,以供下载安装使用。
此外,在打包出来执行后,发现有关网络请求和缓存报错了:
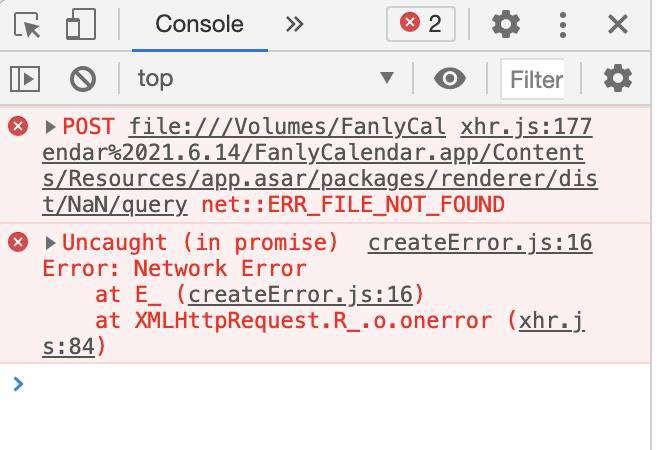
这有待于我继续优化了,未完待续!
常见问题FAQ
- 免费下载或者VIP会员专享资源能否直接商用?
- 本站所有资源版权均属于原作者所有,这里所提供资源均只能用于参考学习用,请勿直接商用。若由于商用引起版权纠纷,一切责任均由使用者承担。更多说明请参考 VIP介绍。
- 提示下载完但解压或打开不了?
- 找不到素材资源介绍文章里的示例图片?
- 模板不会安装或需要功能定制以及二次开发?


发表评论
还没有评论,快来抢沙发吧!