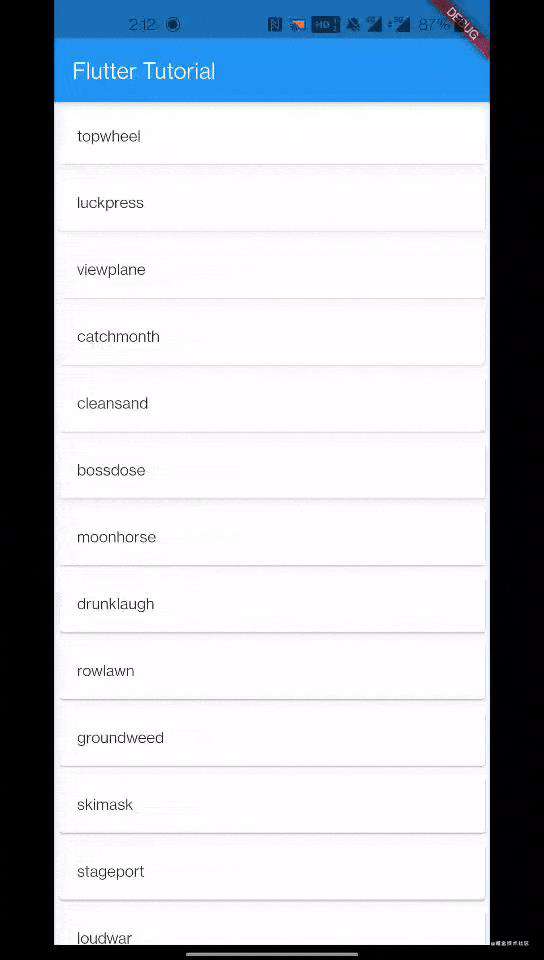
仿掘金移动端app下拉加载动效.

背景 & 介绍
一直在刷掘金app,每次都看到下拉加载的动效,于是想到是不是可以仿一个看看效果。 通过几十次的下拉刷新,看到这个动效主要由以下几个部分组成。(细节可能更多,这里只实现了主要效果)
- 开始下拉,灰色掘金logo出现;
- 下拉到底部后,移开下拉屏幕的手指,此时掘金logo变成掘金蓝色;
- 接着掘金蓝色变回灰色,然后由灰色逐渐变成掘金蓝色。(这里是一个从顶部到底部的一个颜色线性渐变的动效);
- 待完全变为蓝色之后,紧接着背景色淡蓝色从中心的一个点逐渐散开到下拉区域屏幕的左右上下边缘;
- 下拉完成,结束。
项目剖析
下拉效果我们使用了CupertinoSliverRefreshControl来实现下拉,这里我们没有使用RefreshIndicator主要是因为他的动效和掘金的不一样,而CupertinoSliverRefreshControl这种是IOS-style的动效,和掘金的比较类似。我这里使用了一个网上现成的例子作为初始化模板。
首先,我们要知道在哪里实现这个动效,CupertinoSliverRefreshControl提供了一个builder参数,这个参数里面会区分下拉的各种时间段,参考:
/// The current state of the refresh control.
///
/// Passed into the [RefreshControlIndicatorBuilder] builder function so
/// users can show different UI in different modes.
enum RefreshIndicatorMode {
  /// Initial state, when not being overscrolled into, or after the overscroll
  /// is canceled or after done and the sliver retracted away.
  inactive,

  /// While being overscrolled but not far enough yet to trigger the refresh.
  drag,

  /// Dragged far enough that the onRefresh callback will run and the dragged
  /// displacement is not yet at the final refresh resting state.
  armed,

  /// While the onRefresh task is running.
  refresh,

  /// While the indicator is animating away after refreshing.
  done,
}
从上面的步骤中,我们可以让inactive、drag和done都展示灰色掘金logo,而armed状态下展示蓝色掘金logo,这几步都可以用下面的代码实现:
  static Widget buildJuejinSvg(Color color) {
    return Center(
      child: SvgPicture.asset(
        'assets/images/juejin.svg',
        color: color,
      ),
    );
  }
接着,我们要展示上面的步骤中的3和4,一个渐变色,一个scale effect,我们可以新建一个animation的Statelesswidget,这个widget负责制定Tweens,定义每个Animation对象,提供一个build()方法来构建我们下拉刷新需要展示的widget树。
Animation对象我们要定义2个,一个负责颜色渐变,另外一个负责scale淡蓝色到屏幕边缘。
颜色渐变
掘金logo灰色到掘金logo蓝色,我们这里利用2个svg叠加达到效果,一个灰色掘金logo(grayLogo)放在下面和一个蓝色掘金logo(blueLogo)放在上面,blueLogo利用ClipRect的heightFactor参数剪裁,初始化heightFactor为0,逐渐变为1,这样达到的效果是:grayLogo默认渲染,blueLogo由于heightFactor初始为0则不渲染,利用Tween动效让heightFactor有0变为1,这样blueLogo则完全遮盖下面的grayLogo。代码如下:
// animation 对象
final Animation<double> offsetForColorChanges;
offsetForColorChanges = Tween<double>(begin: 0.0, end: 1.0).animate(
    CurvedAnimation(
    parent: controller,
    curve: Interval(0.0, 0.700, curve: Curves.easeIn),
    ),
),
  // 颜色渐变widget tree
  Widget _buildAnimation(BuildContext context, Widget child) {
    final sw = MediaQuery.of(context).size.width;

    return Stack(
      children: [
        Utils.buildJuejinSvg(Colors.grey),
        Positioned(
          left: sw / 2 - 22.5,
          top: 11.5,
          child: ClipRect(
            child: Align(
              alignment: Alignment.topCenter,
              widthFactor: 1.0,
              heightFactor: offsetForColorChanges.value,
              child: Utils.buildJuejinSvg(Colors.blue),
            ),
          ),
        ),
      ],
    );
  }
此处,使用了Stack布局,使得grayLogo和blueLogo得以叠加呈现。
Scale淡蓝色到屏幕边缘
颜色渐变之后,紧接着是淡蓝色scale到屏幕边缘,这里我们又定义了一个animation对象:
final Animation<double> scale;
scale = Tween<double>(begin: 0.0, end: 1.0).animate(
    CurvedAnimation(
    parent: controller,
    curve: Interval(0.700, 1.00, curve: Curves.easeIn),
    ),
),
让一个widget达到scale的效果,可以使用ScaleTransition类,它提供了一个animation作为参数让我们传入动画,然后另外一个参数child就是我们需要scale的对象。
ScaleTransition(
    scale: scale,
    child: Container(
        alignment: Alignment.center,
        width: sw,
        height: 70,
        color: Colors.blue.withAlpha(50),
    ),
    ),
),
最后,我们把这个ScaleTransition也放到_buildAnimation方法中去。
  Widget _buildAnimation(BuildContext context, Widget child) {
    final sw = MediaQuery.of(context).size.width;

    return Stack(
      children: [
        Utils.buildJuejinSvg(Colors.grey),
        Positioned(
          left: 0,
          top: 0,
          child: ScaleTransition(
            scale: scale,
            child: Container(
              alignment: Alignment.center,
              width: sw,
              height: 70,
              color: Colors.blue.withAlpha(50),
            ),
          ),
        ),
        Positioned(
          left: sw / 2 - 22.5,
          top: 11.5,
          child: ClipRect(
            child: Align(
              alignment: Alignment.topCenter,
              widthFactor: 1.0,
              heightFactor: offsetForColorChanges.value,
              child: Utils.buildJuejinSvg(Colors.blue),
            ),
          ),
        ),
      ],
    );
  }
最后,通过AnimatedBuilder构建动画。
  @override
  Widget build(BuildContext context) {
    _playAnimation();

    return AnimatedBuilder(
      animation: controller,
      builder: _buildAnimation,
    );
  }
至此,动画效果就出来了,我们梳理一遍。
- 首先创建一个stateless的widget JueJinAnimation;
- 定义2个animation对象;
- 实现动画方法_buildAnimation;
- 让AnimatedBuilder来包裹动画方法;
- 播放动画。
播放动画
完美,JueJinAnimation类创建完成,接下来在main.dart使用JueJinAnimation动画类。
前面已经提到下拉刷新有几个时机,剩下一个refresh我们还没有使用,对了,这个状态下面使用JueJinAnimation这个动画类,由于Flutter里面的动画是通过AnimationController来控制的,所以我们得创建一个AnimationController传入到JueJinAnimation class里面:
    _juejinAnimationController = AnimationController(
      duration: const Duration(milliseconds: 1000),
      vsync: this,
    );
上面的都很好理解,只有一个vsync是干嘛的,请参考这里。总之为了使用vsync我们需要加一个Mixin。
class _PullToRefreshExampleState extends State<_PullToRefreshExample>
    with TickerProviderStateMixin {
    // TODO: code here
    }
最后,我们填充一下下拉刷新的builder方法,每个对应的状态需要返回什么widget,一目了然。
  Widget _buildRefreshBuilder(
    BuildContext context,
    RefreshIndicatorMode refreshState,
    double pulledExtent,
    double refreshTriggerPullDistance,
    double refreshIndicatorExtent,
  ) {
    switch (refreshState) {
      case RefreshIndicatorMode.inactive:
      case RefreshIndicatorMode.drag:
      case RefreshIndicatorMode.done:
        return Utils.buildJuejinSvg(Colors.grey);
        break;
      case RefreshIndicatorMode.armed:
        return Utils.buildJuejinSvg(Colors.blue);

        break;
      case RefreshIndicatorMode.refresh:
        return JueJinAnimation(
          animationController: _juejinAnimationController,
          controller: _juejinAnimationController?.view,
        );

        break;
      default:
        return Utils.buildJuejinSvg(Colors.grey);
        break;
    }
  }
总结
Flutter实现一些简单的动效还是非常容易理解的,也很容易就上手,通过一些内置的class就实现了这些基本的动效,如Tween,Animation,AnimationController,AnimatedBuilder等等。源码奉上。
常见问题FAQ
- 免费下载或者VIP会员专享资源能否直接商用?
- 本站所有资源版权均属于原作者所有,这里所提供资源均只能用于参考学习用,请勿直接商用。若由于商用引起版权纠纷,一切责任均由使用者承担。更多说明请参考 VIP介绍。
- 提示下载完但解压或打开不了?
- 找不到素材资源介绍文章里的示例图片?
- 模板不会安装或需要功能定制以及二次开发?


发表评论
还没有评论,快来抢沙发吧!