
本文作者:佐助,未经授权禁止转载。
前言
本期内容分为3个部分:
- 背景
- 工程提效实践
- 总结
一、背景
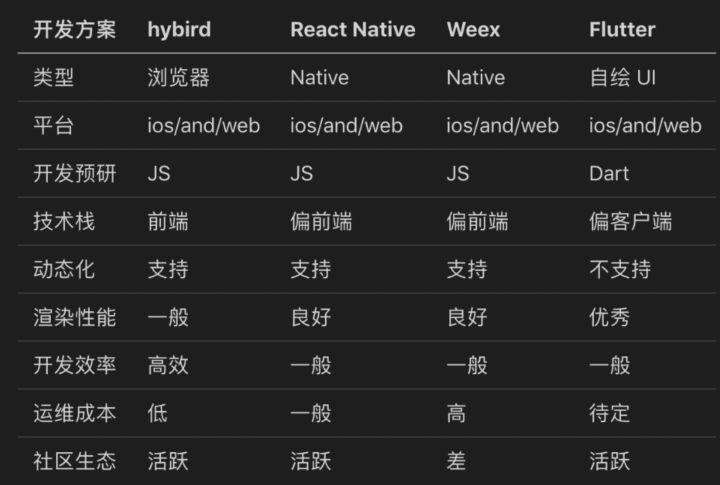
2019 年无疑是 Flutter 技术如火如荼发展的一年。采用 Flutter 使业务在需求节奏不变的情况下人力投入减少一半,对缓解业务研发压力起到了明显的作用;应用的整体性能和稳定性也与 Native 基本持平;同时其优秀的跨多端多平台能力,使得 Flutter 技术已经成为越来越多行业伙伴重点投入的技术建设方向 。flutter-zycli-app脚手架从工程体系的角度,提供一套标准化的 API 能力,以规范并抽象移动端的端基础能力,使业务尽量少甚至不关心平台差异性,专注于业务;同时借助标准化 API 的能力,实现跨多端多平台部署,使技术真正赋能公司业务的快速发展诉求。
附上横向对比行业开源方案:
二、工程提效实践
解决的痛点
- 多个重点项目的百花齐放,同个功能技术的多次实现
- 标准不统一,后期维护成本高,研发人员陷入固定项目
- 需要制定统一项目开发标准,提供基础能力,提高开发效率
我理解的“脚手架”
- 能够快速帮我生成新项目的目录模板
- 能够提升我的开发效率和开发的舒适性
内置集成功能
- 移动端通用UI组件库
- 移动端基础库
- 路由
- 国际化
- 主题切换
- 事件总线
- 存储管理
- 状态管理
- 网络
- 用户中心
- 配置中心
- 屏幕适配
- 广告页面
- 引导页面
目录结构
android/ 		# 安卓工程
ios/     		# ios工程
lib/
  |- components/ 	# 共用widget组件封装
  |- config/ 		# 全局的配置参数
  |- constants/ 	# 常量文件夹
  |- event_bus/ 	# 事件总线
  |- provider/ 		# 全局状态管理
  |- pages/ 		# 页面ui层,每个独立完整的页面,每个页面可独立放自己的provider状态管理
      |- AppHomePage/ 	# APP主体页面
      |- SplashPage/ 	# APP闪屏页
  |- service/ 		# 请求接口抽离层
  |- routes/ 		# 定义路由相关文件夹
  |- utils/ 		# 公共方法抽离
    |- dio/ 		# dio底层请求封装
  |- main.dart 		# 入口文件
pubspec.yaml 		# 配置文件
移动端通用UI组件库
Flutter 具有强大的 UI 表现力,可以帮助开发者快速高效低成本的开发出极为炫酷的 UI ,帮助业务构建出富有表现力的页面。公司想要通过产品快速占领市场,同时有更多的辨识度、风格,我们需要有一套自己的移动端通用的UI标准,实现了UI标准化,统一三端,提升交付效率。
支持的所有组件
| 序号 | 组件名 | 描述 | 截图 | 1 | Buttons | 按钮可以显示文本、图像。扁平按钮和浮动按钮是最常用的两种按钮类型。 | 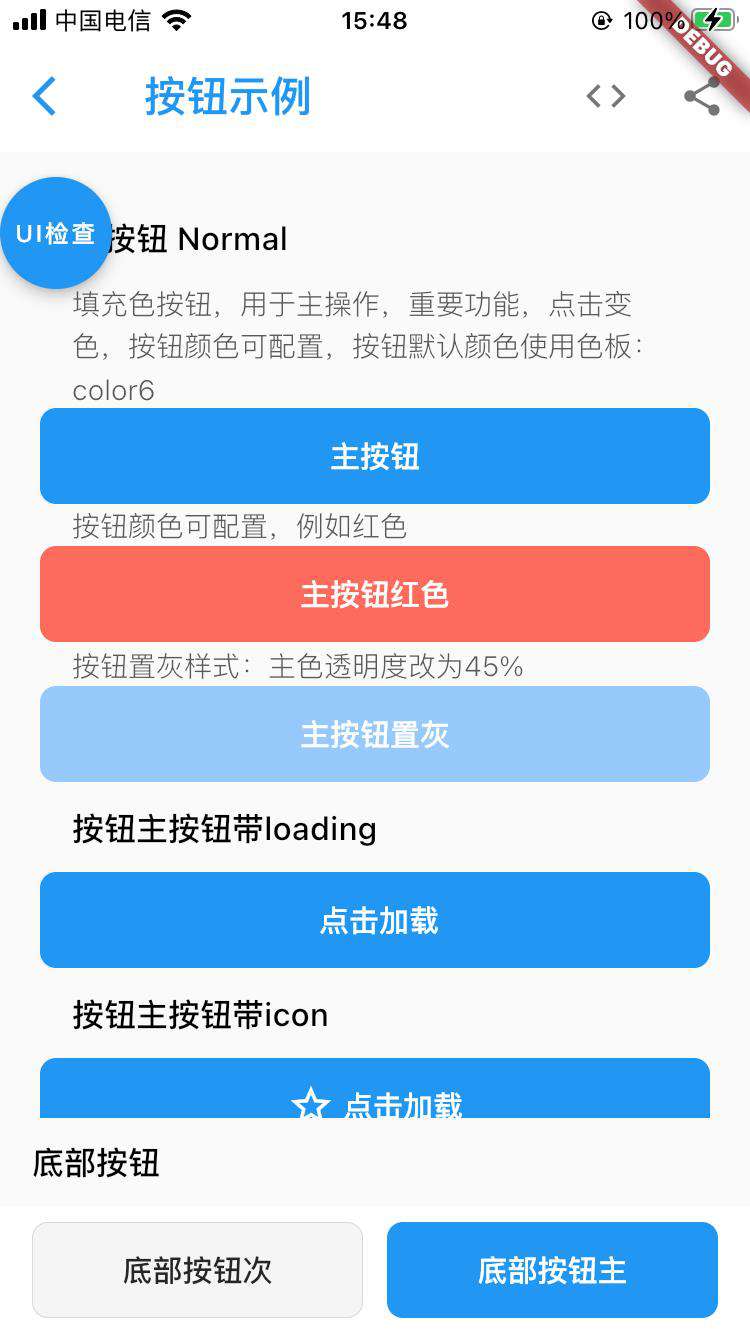 | 2 | Badges | 消息红点。 | 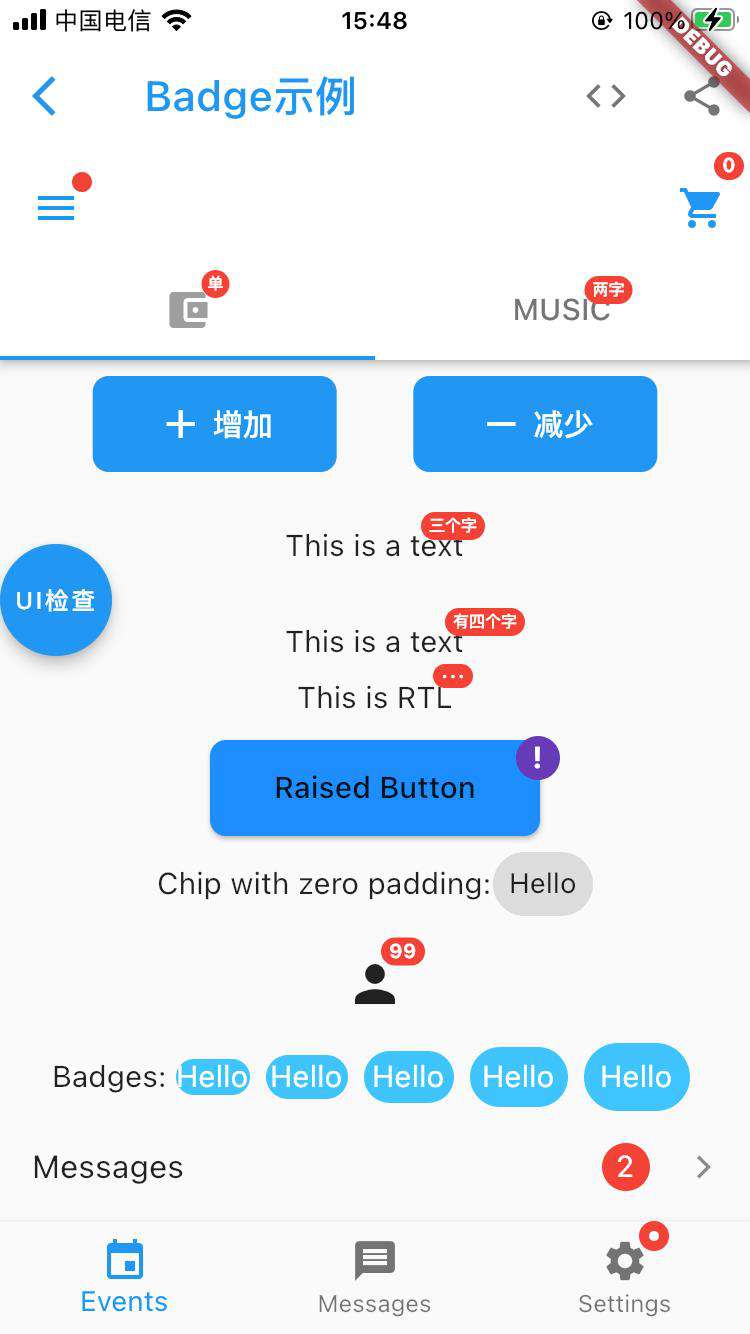 | 3 | Appbar | 一个Material Design应用程序栏,由工具栏和其他可能的widget(如TabBar和FlexibleSpaceBar)组成。 | 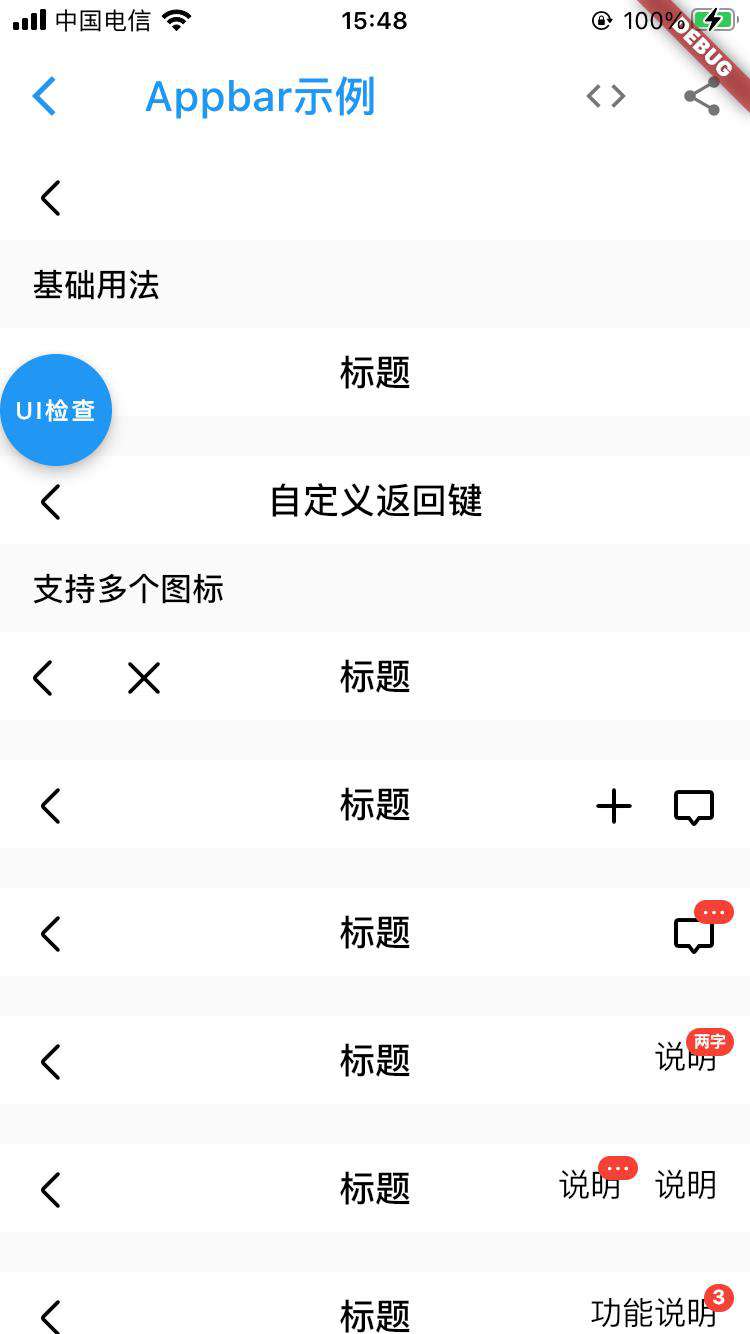 | 4 | BottomNavigationBar | 底部导航标签 选项卡可以方便地在不同视图间浏览和切换。 | 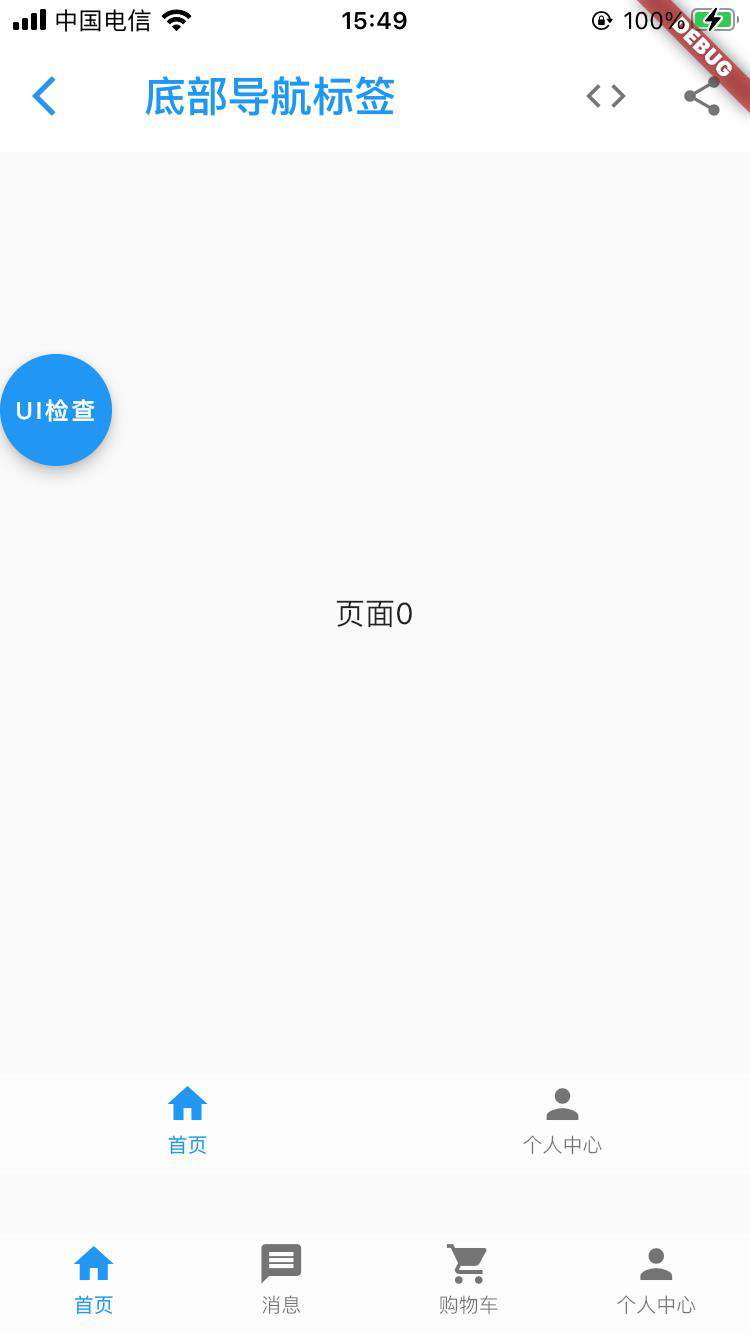 | 5 | TabBar | 顶部标签栏。 |  | 6 | Pickers | 底部滚轮选择器。 | 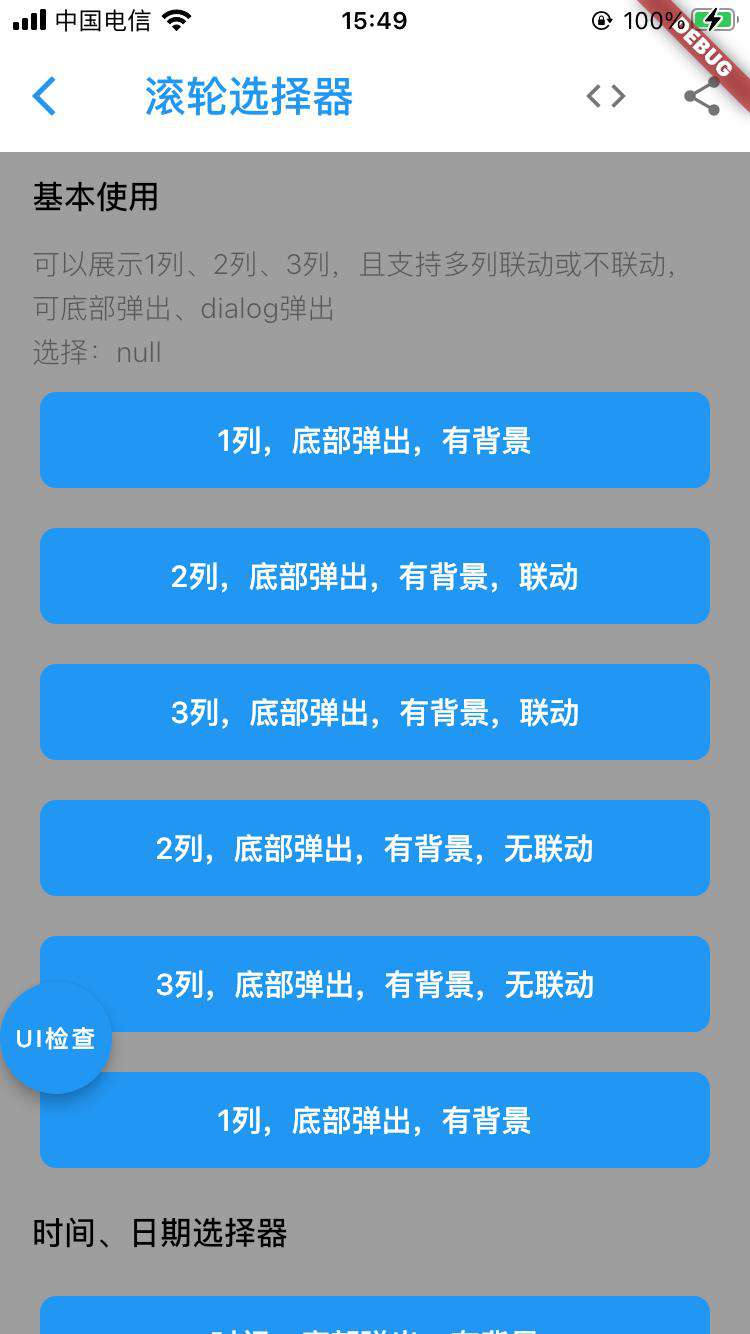 | 7 | Dialogs | 对话框用于提示用户做一些决定,或者提供完成某个任务时需要的一些其他额外信息。 | 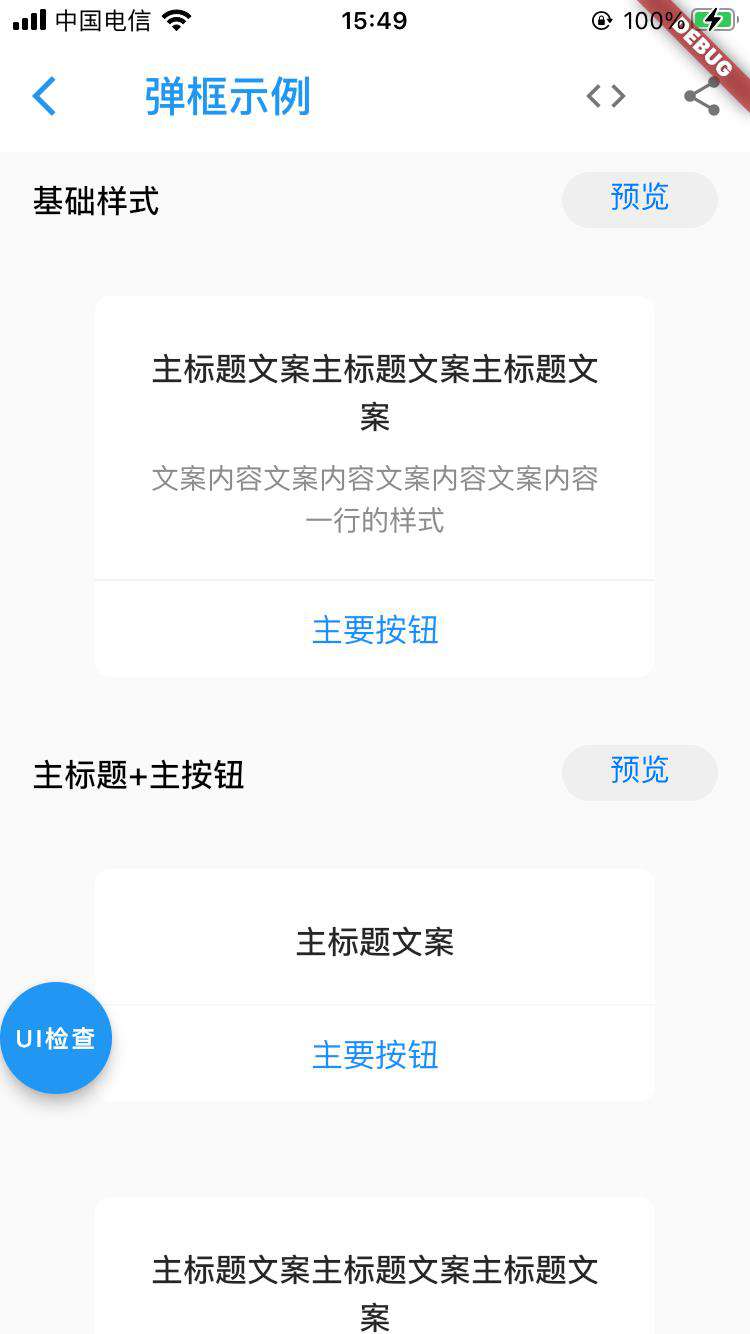 | 8 | Toast | 主要用于消息提示。 |  | 9 | Switch | iOS风格的开关. 用于单一状态的开/关。 | 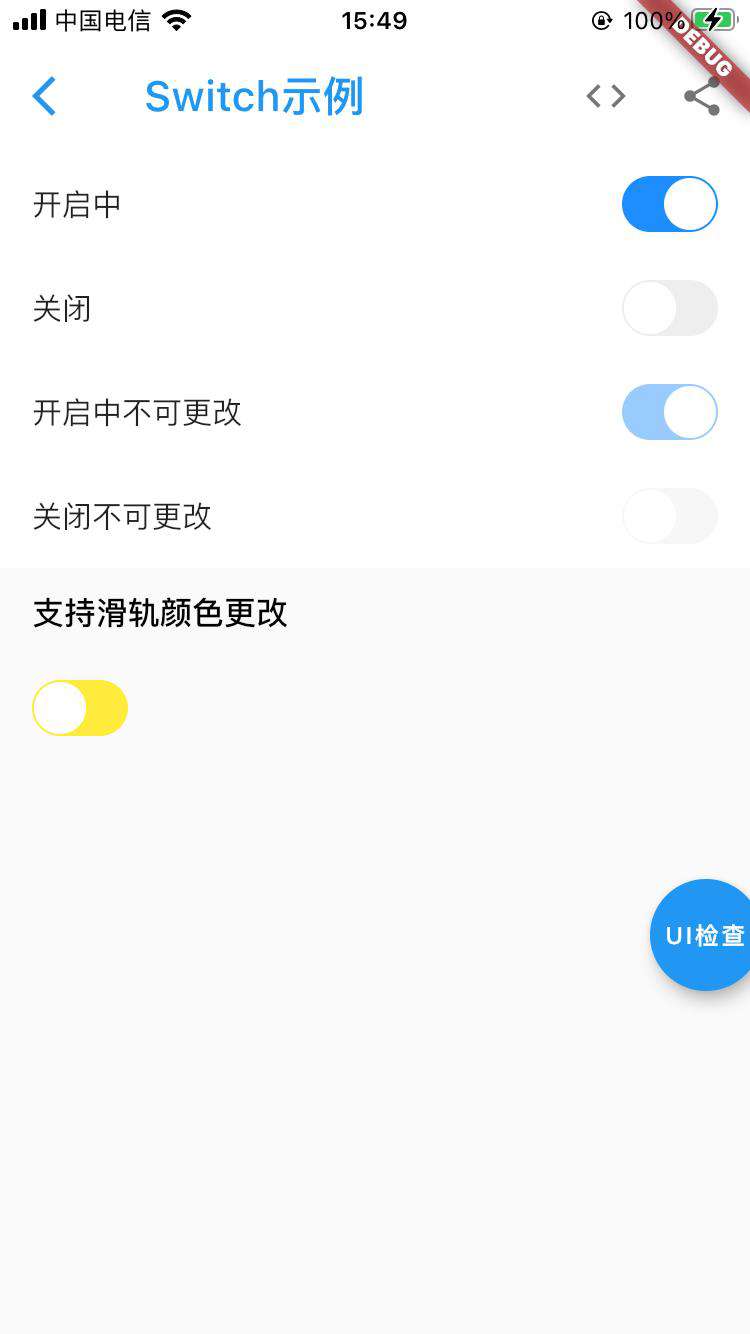 | 10 | PopupMenu | 底部弹窗。 | 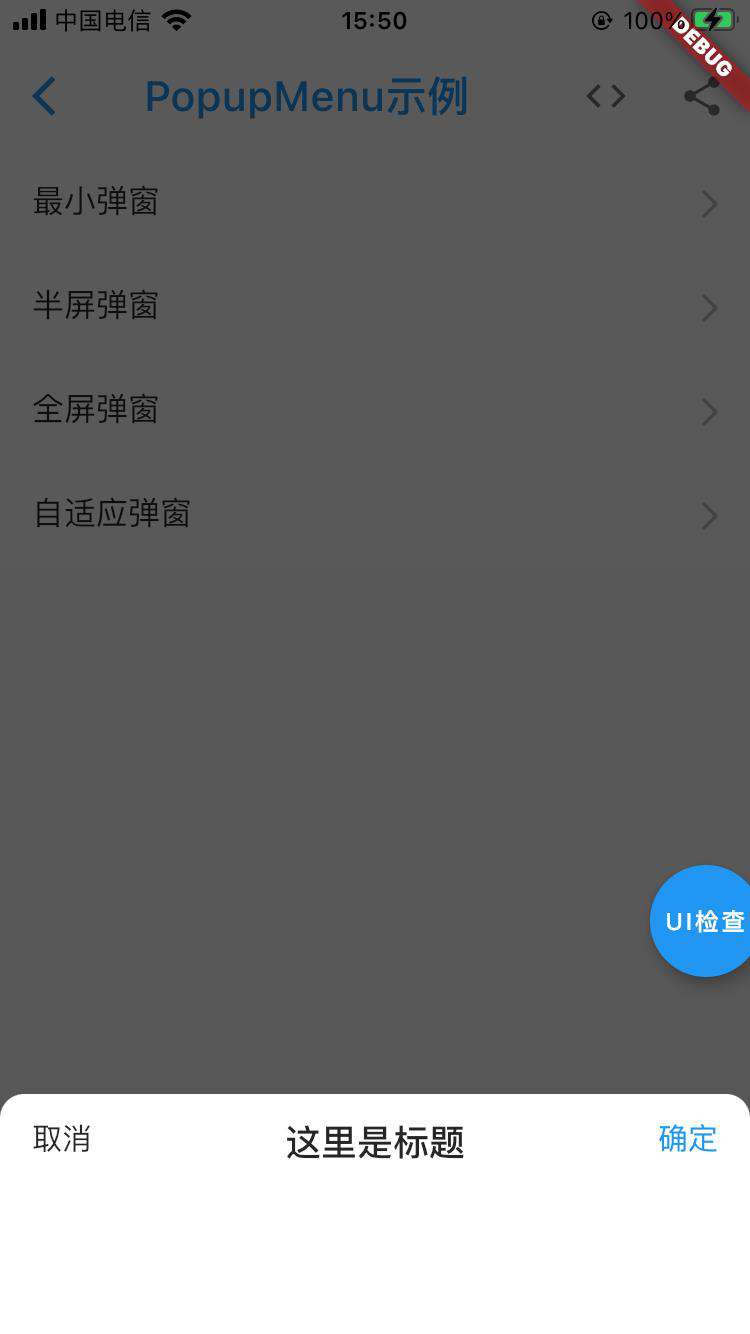 | 11 | SearchBar | 搜索栏。 | 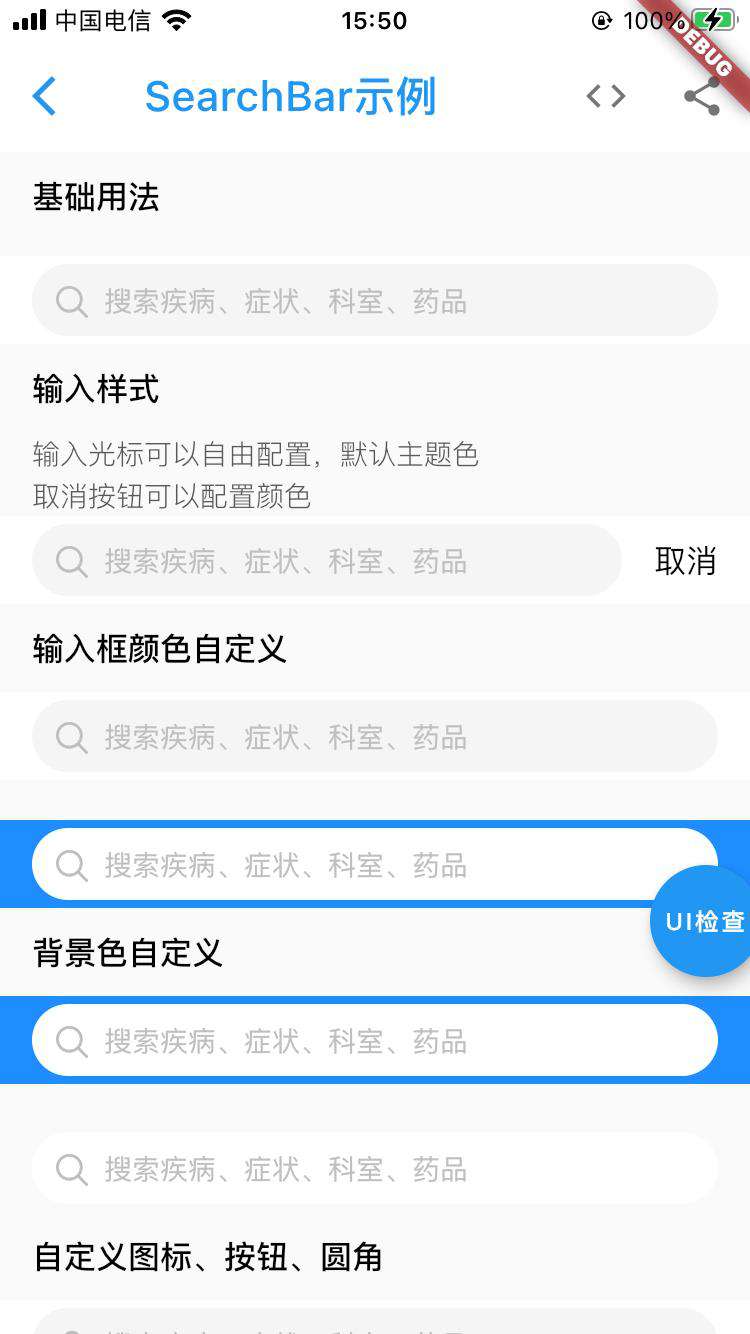 | 12 | ListTile | 表单展示。 | 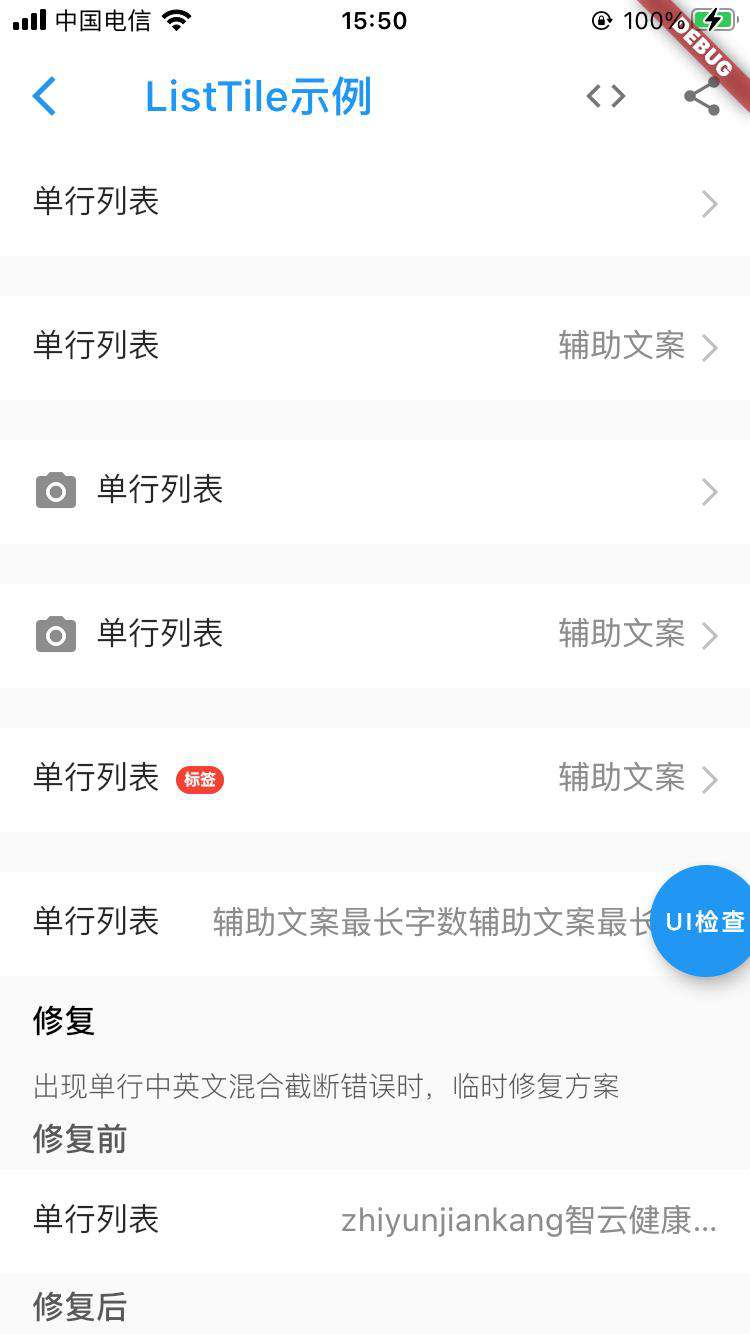 | 13 | Notification | 通知栏。 | 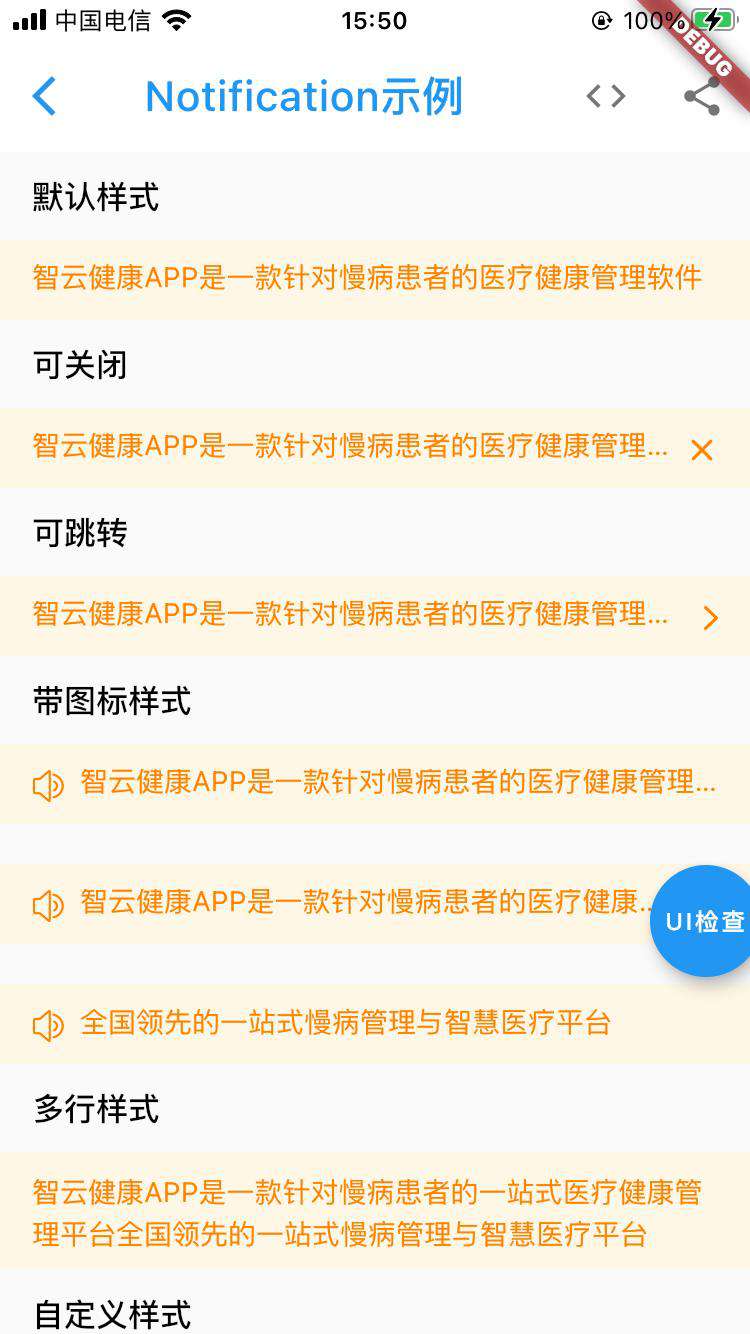 | 14 | StateWidget | 缺省页示例。 | 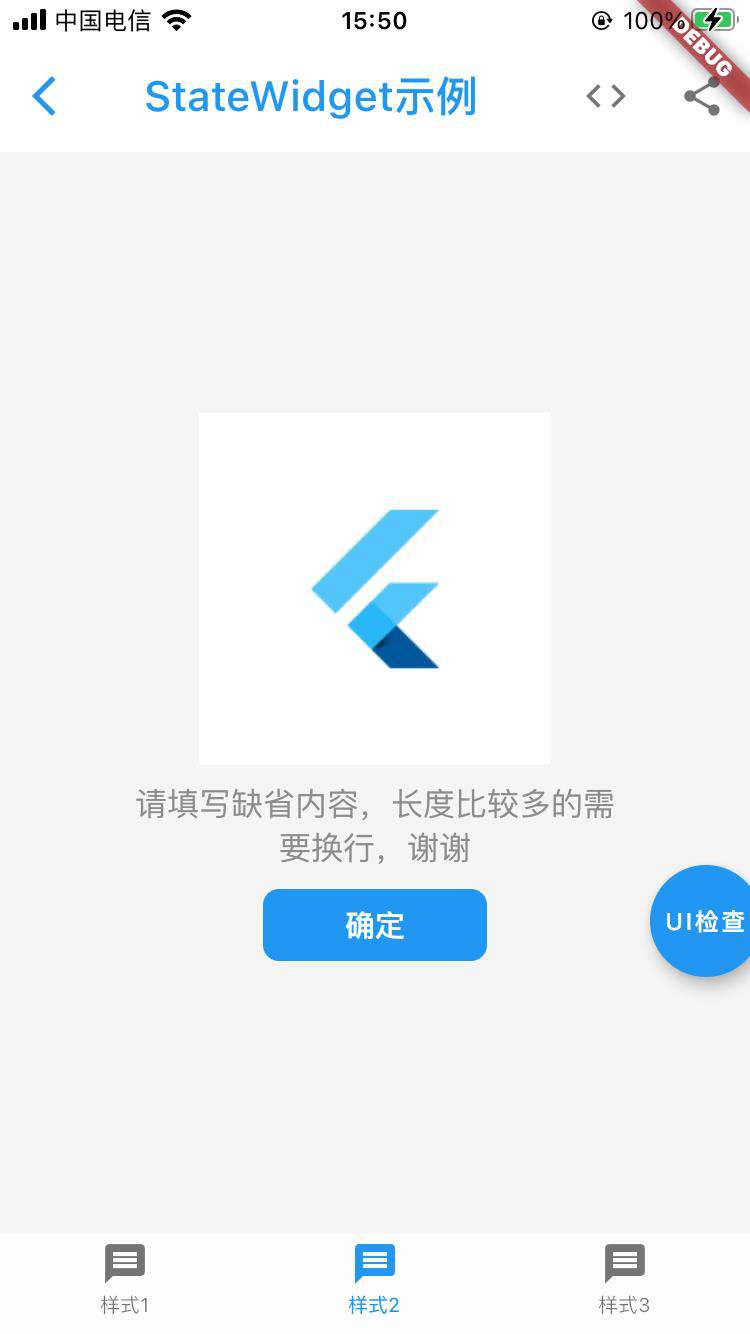 | 15 | SelectListTile | 配合Picker等信息交互的单元格。 | 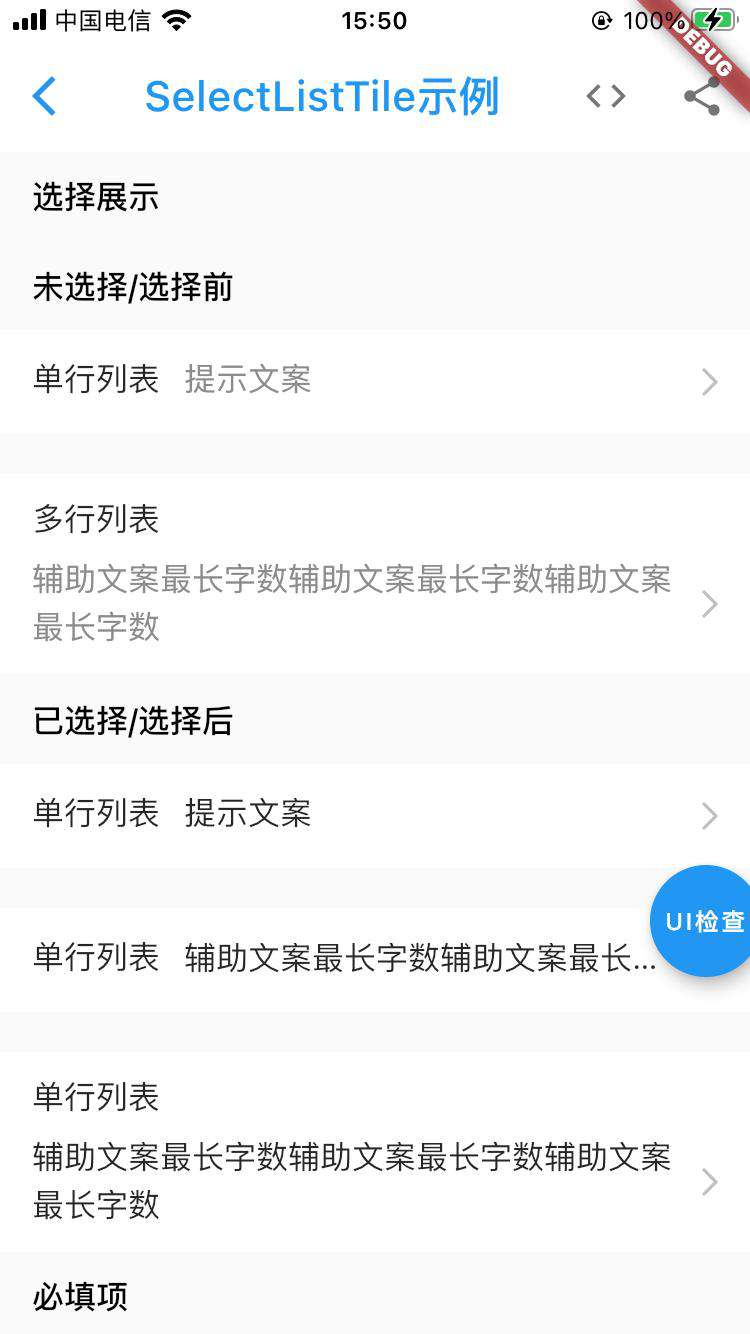 | 16 | InputListTitle | 表单输入。 | 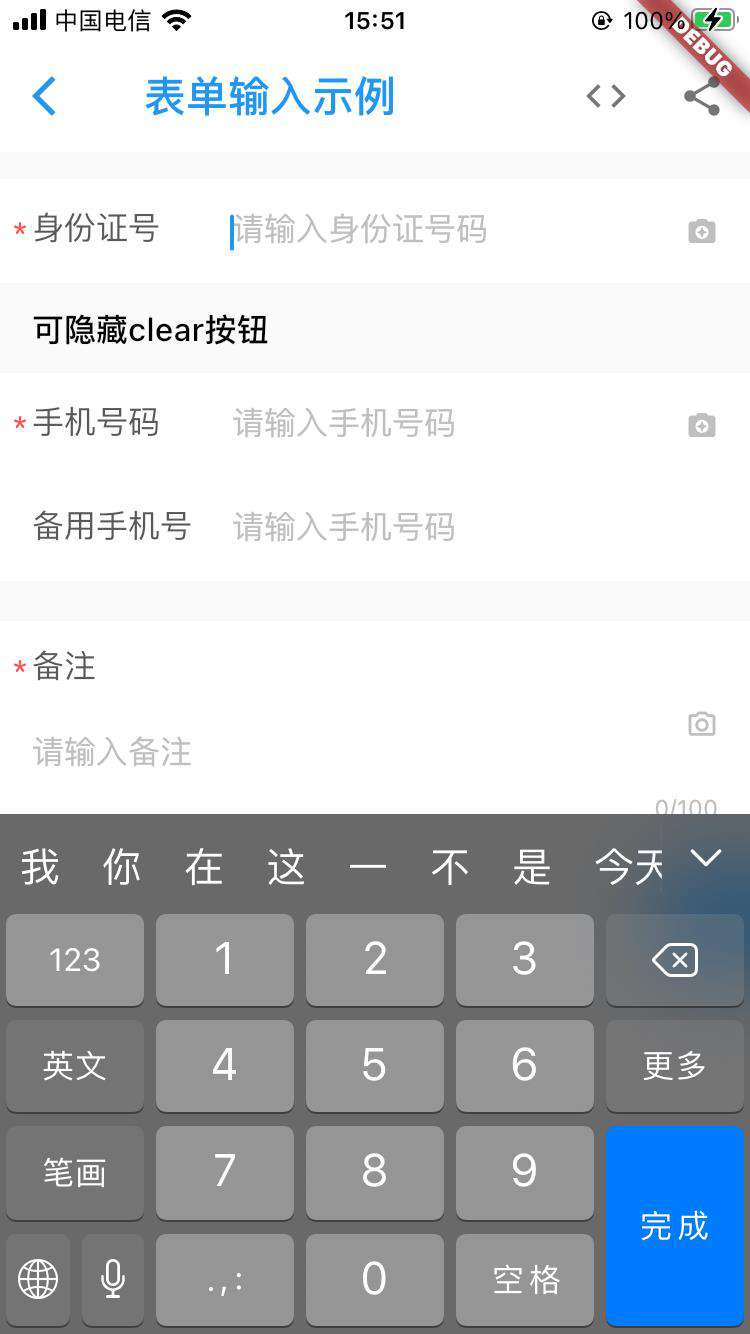 | 17 | Refresh | 下拉刷新、上拉加载。 | 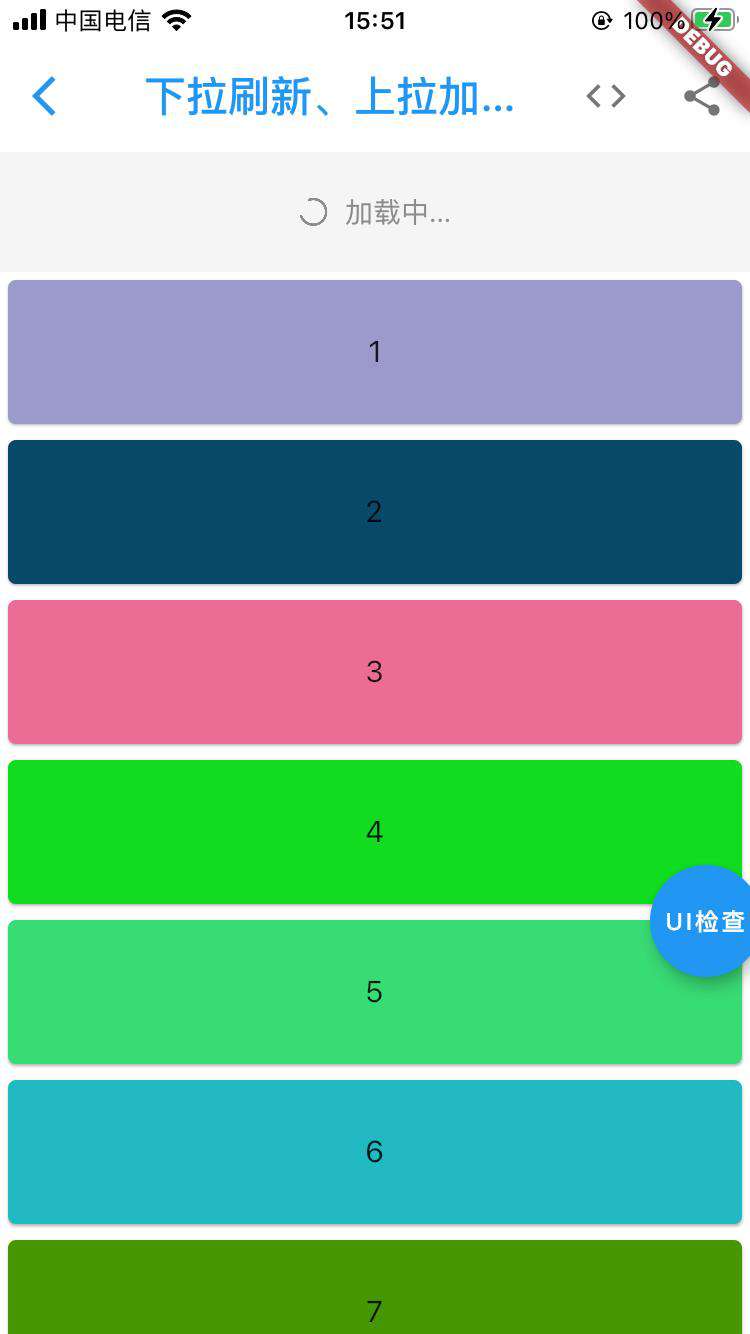 | 18 | ShareWidget | 分享面板。 | 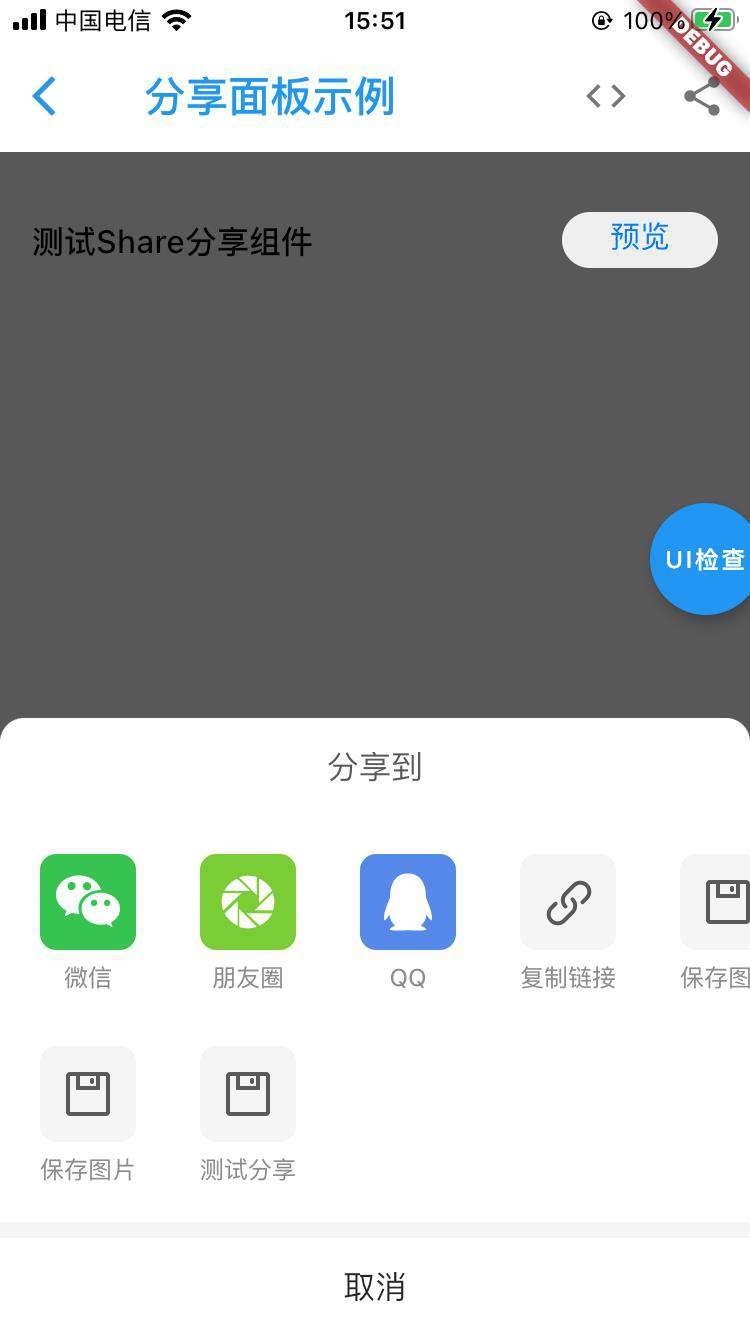 | 19 | ActionSheet | 底部弹窗,固定行数,不可滑动。 | 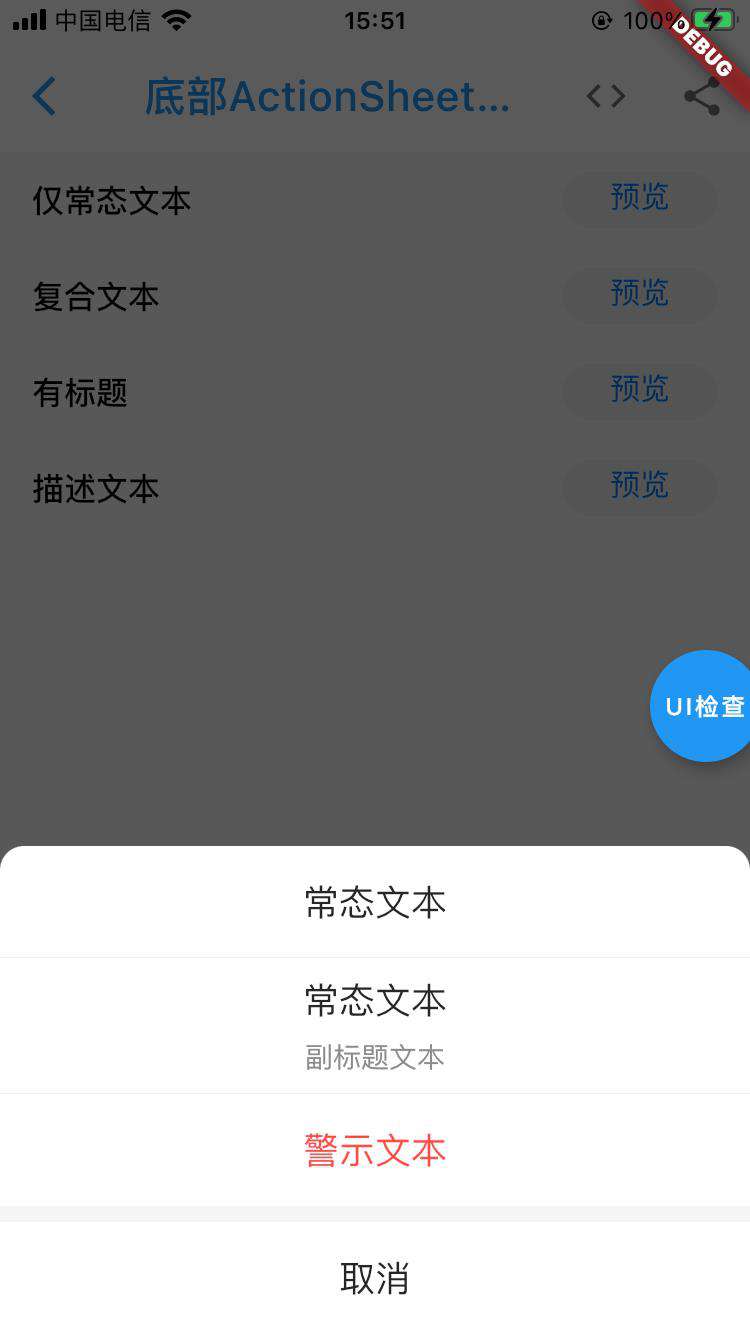 |
|---|
移动端基础库
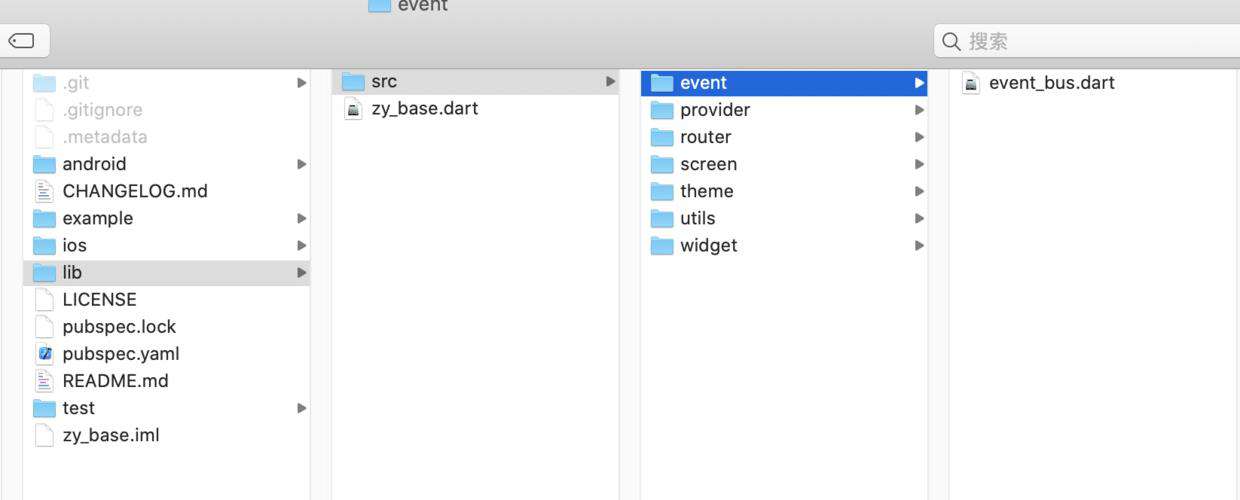
我们会将基础的能力下沉到zy_base仓库,以供所有的项目依赖使用。
比如:
- 事件总线
- 状态管理
- 路由
- 屏幕适配
- 主题切换
- 工具包
- 公共页面
- ...
路由
路由简单的来说就是一个中转站,通过URL映射到相应的类,然后就能进行跳转并携带页面所需要的参数,路由承担的功能又不仅仅是做页面跳转,更重要的是可以解耦页面跳转的文件引入和跳转逻辑代码。
建议将App上的多个一级页面放到一个zy-main-page.dart类中,统一配置多个一级页面,使main.dart中的代码更加清晰明了。
如下:
import 'package:flutter/material.dart';
import 'package:flutter_zycli_app/constants/zy_r.dart';
import 'package:flutter_zycli_app/pages/home/zy_home_page.dart';
import 'package:flutter_zycli_app/pages/mine/zy_mine_page.dart';
import 'package:flutter_zycli_app/pages/social/zy_social_page.dart';

class ZyMainPage extends StatefulWidget {
  @override
  _ZyMainPageState createState() => _ZyMainPageState();
}

class _ZyMainPageState extends State<ZyMainPage> {
  var _pageController = PageController();

  /// 选中页面的索引值,默认为0
  int _selectedIndex = 0;

  /// 记录最后一次点击返回键的时间
  DateTime _lastPressed;

  /// 页面数组
  final List<Widget> pages = <Widget>[
    /// 首页
    ZyHomePage(),

    /// 社区
    ZySocialPage(),

    /// 我的
    ZyMinePage(),
  ];

  @override
  Widget build(BuildContext context) {
    return Scaffold(
      body: WillPopScope(
        /// 对点击pop时进行细节处理,快速点击则只相应一次返回
        onWillPop: () async {
          if (_lastPressed == null ||
              DateTime.now().difference(_lastPressed) > Duration(seconds: 1)) {
            /// 两次点击间隔超过1秒则重新计时
            _lastPressed = DateTime.now();
            return false;
          }
          return true;
        },
        child: PageView.builder(
          itemBuilder: (ctx, index) => pages[index],
          itemCount: pages.length,
          controller: _pageController,
          physics: NeverScrollableScrollPhysics(),
          onPageChanged: (index) {
            setState(() {
              _selectedIndex = index;
            });
          },
        ),
      ),
      bottomNavigationBar: BottomNavigationBar(
        type: BottomNavigationBarType.fixed,
        items: _buildBottomBar(context),
        currentIndex: _selectedIndex,
        onTap: (index) {
          debugPrint('ZyMainPage BottomNavigationBar selected index:$index');
          if (_selectedIndex == 0 && _selectedIndex == index) {
            _pageController?.notifyListeners();
          }
          _pageController.jumpToPage(index);
        },
      ),
    );
  }

  List<BottomNavigationBarItem> _buildBottomBar(BuildContext context) {
    return <BottomNavigationBarItem>[
      BottomNavigationBarItem(
        icon: Image.asset(R.TAB_HOME),
        activeIcon: Image.asset(R.TAB_HOME_HIGHLIGHTED),
        label: '首页',
      ),
      BottomNavigationBarItem(
        icon: Image.asset(R.TAB_SOCIAL),
        activeIcon: Image.asset(R.TAB_SOCIAL_HIGHLIGHTED),
        label: '社区',
      ),
      BottomNavigationBarItem(
        icon: Image.asset(R.TAB_MY),
        activeIcon: Image.asset(R.TAB_MY_HIGHLIGHTED),
        label: '我的',
      ),
    ];
  }
}
页面路由配置
class RoutePath {
  /// 配置主页-包含(首页/社区/我的),用于动态切换主页
  static const zyMainPage = '/zyMainPage';

  /// 详情
  static const zyHomeDetailPage = '/zyHomeDetailPage';
}
main.dart中配置路由
void main() {
  /// 普通页面路由注册
  ZyAppRouter.register();

  runApp(MyApp());
}

class MyApp extends StatelessWidget {
  @override
  Widget build(BuildContext context) {
    return MaterialApp(
      title: 'Flutter Demo',

      /// 初始化路由页面,是一个单独的页面,好处是可以动态切换主页
      initialRoute: RoutePath.zyMainPage,

      /// 路由钩子
      onGenerateRoute: ZyRoute.generator(),

      home: Container(
        color: Colors.white,
      ),
    );
  }
}
通过路由传参数及回调参数
////////////////////页面跳转并带参数///////////////////////
final result = await ZyRoute.pushNamed(
  context,
  RoutePath.zyHomeDetailPage,
  arguments: {
    'content': '兄弟,你好啊',
  },
);
String resultStr = result as String;
if (resultStr != null && resultStr.length > 0) {
  setState(() {
    receiveResult = resultStr;
  });
}

////////////////////页面回调参数//////////////////////////
ZyRoute.pop(context, '你也好啊!!!');
国际化
在开发一个App时,如果需要支持多种语言,比如:中文、英文、繁体等,那么我们就需要支持国际化。
生成arb文件
现在我们可以通intl_translation包的工具来提取代码中的字符串到一个arb文件,运行如下命名:
flutter pub pub run intl_translation:extract_to_arb --output-dir=l10n-arb lib/l10n/localization_intl.dart
生成dart代码
根据arb生成dart文件:
flutter pub pub run intl_translation:generate_from_arb --output-dir=lib/l10n --no-use-deferred-loading lib/l10n/localization_intl.dart l10n-arb/intl_*.arb
我们可以将最后两步放在一个shell脚本里,当我们完成第三步或完成arb文件翻译后只需要分别执行该脚本即可。我们在根目录下创建一个intl.sh的脚本
flutter pub pub run intl_translation:extract_to_arb --output-dir=l10n-arb lib/l10n/localization_intl.dart
flutter pub pub run intl_translation:generate_from_arb --output-dir=lib/l10n --no-use-deferred-loading lib/l10n/localization_intl.dart l10n-arb/intl_*.arb
授予执行权限
chmod +x intl.sh
执行intl.sh
./intl.sh
参考资料:
-
Flutter 国际化
-
Flutter 实战-国际化-使用Intl包
主题切换
为了让你的 App 更美观,主题切换已经是一个必不可少的功能了,但如果想在传统的 Android 和 iOS 上分别适配不同的主题相当繁琐。但这一切,在 Flutter 中都非常容易实现。今天我们就来看看,如何在 Flutter 中给你的 App 添加换肤功能。
我们将使用到provider和SharedPreferencesUtils来完成主题切换功能。
- 使用 Provider 进行全局状态管理
class ThemeViewModel extends ChangeNotifier {
  static const xThemeColorIndex = 'xThemeColorIndex';
  static const xThemeUserDarkMode = 'xThemeUserDarkMode';
  static const xFontIndex = 'xFontIndex';

  static const fontValueList = ['system', 'kuaile'];

  /// 用户选择的明暗模式
  bool _userDarkMode;

  /// 当前主题颜色
  MaterialColor _themeColor;

  /// 当前字体索引
  int _fontIndex;

  ThemeViewModel() {
    /// 用户选择的明暗模式
    _userDarkMode = SharedPreferencesUtils.getBool(xThemeUserDarkMode) ?? false;

    /// 获取主题色
    _themeColor = Colors.primaries[
    SharedPreferencesUtils.getInt(xThemeColorIndex) ?? 5];

    /// 获取字体
    _fontIndex = SharedPreferencesUtils.getInt(xFontIndex) ?? 0;
  }

  int get fontIndex => _fontIndex;

  /// 切换指定色彩
  void switchTheme({bool userDarkMode, MaterialColor color}) {
    _userDarkMode = userDarkMode ?? _userDarkMode;
    _themeColor = color ?? _themeColor;
    notifyListeners();
    saveTheme2Storage(_userDarkMode, _themeColor);
  }

  /// 切换字体
  switchFont(int index) {
    _fontIndex = index;
    switchTheme();
    saveFontIndex(_fontIndex);
  }

  ThemeData themeData({bool platformDarkMode: false}) {
    var isDark = false/*platformDarkMode || _userDarkMode*/;
    Brightness brightness = Brightness.light/*isDark ? Brightness.dark : Brightness.light*/;

    var themeColor = _themeColor;
    var accentColor = isDark ? themeColor[700] : _themeColor;
    var themeData = ThemeData(
        brightness: brightness,
        primaryColorBrightness: Brightness.dark,
        accentColorBrightness: Brightness.dark,
        primarySwatch: themeColor,
        accentColor: accentColor,
        fontFamily: fontValueList[fontIndex]);

    themeData = themeData.copyWith(
      brightness: brightness,
      accentColor: accentColor,
      cupertinoOverrideTheme: CupertinoThemeData(
        primaryColor: themeColor,
        brightness: brightness,
      ),

      appBarTheme: themeData.appBarTheme.copyWith(color: Colors.blue, elevation: 0),
      splashColor: themeColor.withAlpha(50),
      hintColor: themeData.hintColor.withAlpha(90),
      errorColor: Colors.red,
      cursorColor: accentColor,
      textTheme: themeData.textTheme.copyWith(
        /// 解决中文hint不居中的问题 https://github.com/flutter/flutter/issues/40248
          subhead: themeData.textTheme.subhead
              .copyWith(textBaseline: TextBaseline.alphabetic)),
      textSelectionColor: accentColor.withAlpha(60),
      textSelectionHandleColor: accentColor.withAlpha(60),
      toggleableActiveColor: accentColor,
      chipTheme: themeData.chipTheme.copyWith(
        pressElevation: 0,
        padding: EdgeInsets.symmetric(horizontal: 10),
        labelStyle: themeData.textTheme.caption,
        backgroundColor: themeData.chipTheme.backgroundColor.withOpacity(0.1),
      ),
//          textTheme: CupertinoTextThemeData(brightness: Brightness.light)
      inputDecorationTheme: ThemeHelper.inputDecorationTheme(themeData),
    );
    return themeData;
  }

  /// 数据持久化到shared preferences
  saveTheme2Storage(bool userDarkMode, MaterialColor themeColor) async{
    var index = Colors.primaries.indexOf(themeColor);
    await Future.wait([
      SharedPreferencesUtils.setBool(userDarkMode, xThemeUserDarkMode),
      SharedPreferencesUtils.setInt(index, xThemeColorIndex)
    ]);
  }

  static String fontName(index, context) {
    switch(index) {
      case 0:
        return '0';
      case 1:
        return '1';
      default:
        return '';
    }
  }

  /// 字体选择持久化
  saveFontIndex(int index) async{
    await SharedPreferencesUtils.setInt(index, xFontIndex);
  }
}
- 因为是全局的状态管理,接下来我们需要在main.dart文件中配置一下刚才创建的 provider,有多个状态管理就使用 MultiProvider,单个的使用 Provider.value 就行了。(考虑到未来项目的扩展,这里我就直接使用 MultiProvider)了
class _MyAppState extends State<MyApp> {
  @override
  Widget build(BuildContext context) {
    return MultiProvider(
      providers: [
        ChangeNotifierProvider<ThemeViewModel>(
          create: (context) => ThemeViewModel(),
        )
      ],
      child: Consumer<ThemeViewModel>(
        builder: (_, themeViewModel, __) {
          ThemeData themeData = themeViewModel?.themeData();
          return MaterialApp(
            theme: themeData,
            builder: BotToastInit(),
            navigatorObservers: [BotToastNavigatorObserver()],
            darkTheme: themeViewModel.themeData(platformDarkMode: true),
            onGenerateRoute: BaseRouter.generateRoute,
            initialRoute: AppRouteName.mainPage,
          );
        },
      ),
    );
  }
}
- 切换主题颜色
var model = Provider.of<ThemeViewModel>(context,listen: false);
// var brightness = Theme.of(context).brightness;
model.switchTheme(color: color);
参考资料:
Flutter主题切换——让你的APP也能一键换肤
三、总结
虽然公司小伙伴在 Flutter 领域已经有几年的实战经验了,但 Flutter 体系化建设才刚刚起步,仍然有大量工作需要去做,我们正朝着把 Flutter 打造为统一移动应用基础研发框架的方向迈进,通过对已有的组件库进行梳理,技术整合,团队讨论,确定一套标准,熟练使用,使业务同学更关注业务的实现,从而提高了开发效率。
下期分享内容
- 事件总线
- 存储管理
- 状态管理
- 网络
参考文献
- Flutter实战
作者简介
佐助,Flutter工程师,来自智云健康移动端基建组团队
结尾
感谢你的阅读,日前智云健康大前端团队正在参加掘金人气团队评选活动。如果你觉得还不错的话,那就来 给我们投几票 吧!
今日总共可以投15票,网页5票,App5票,分享5票。感谢支持,2021我们还会创作更多的技术好文~~~
你的支持是是我们最大的动力~
常见问题FAQ
- 免费下载或者VIP会员专享资源能否直接商用?
- 本站所有资源版权均属于原作者所有,这里所提供资源均只能用于参考学习用,请勿直接商用。若由于商用引起版权纠纷,一切责任均由使用者承担。更多说明请参考 VIP介绍。
- 提示下载完但解压或打开不了?
- 找不到素材资源介绍文章里的示例图片?
- 模板不会安装或需要功能定制以及二次开发?


发表评论
还没有评论,快来抢沙发吧!